Easy Dipping Chocolate

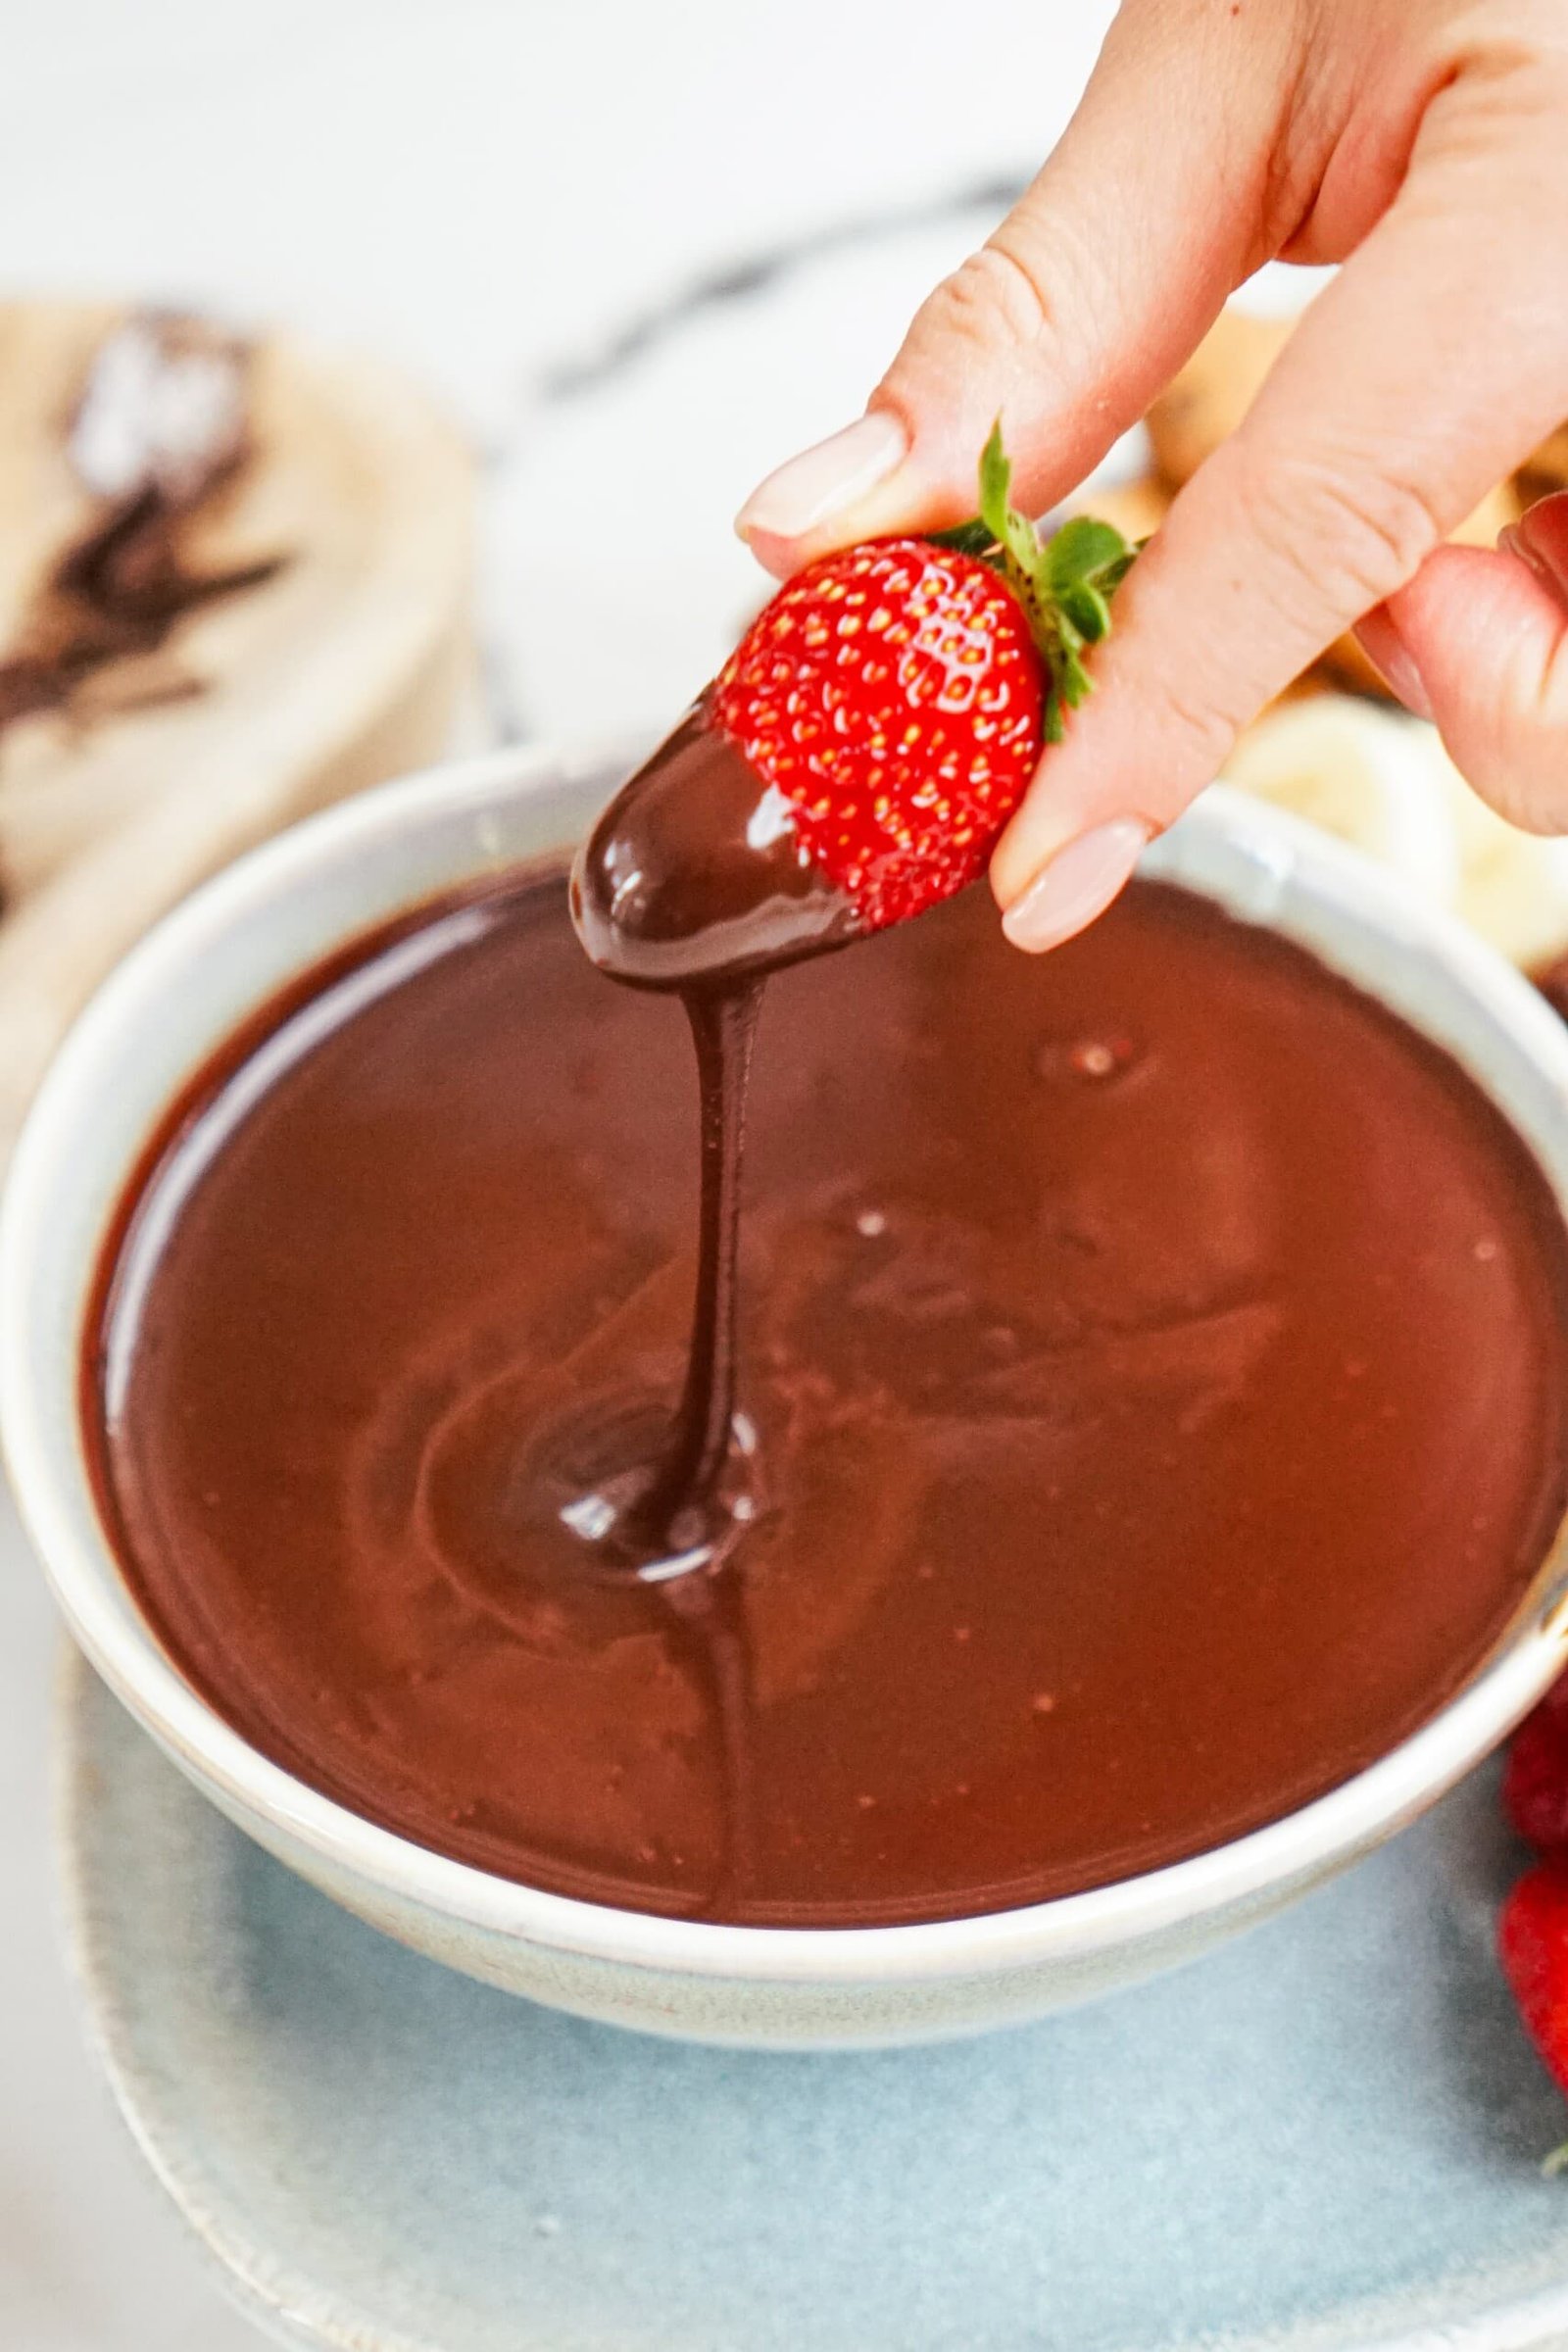
This Dipping Chocolate Recipe is an easy way to enjoy rich, smooth, melted chocolate without setting up a whole fondue pot. It’s perfect for dipping fresh strawberries on Valentine’s Day or making a sweet treat any time of year. You can even make it ahead and warm it up when you’re ready to serve. Try it with fresh fruit, brownies, or Rice Krispie Treats!
Ingredient Notes
You only need six ingredients to make this chocolate dip, and it comes together in about 20 minutes. Here’s what you’ll need:
- Semi-Sweet Chocolate: I prefer semi-sweet chocolate for a classic, not-too-sweet flavor. Dark or white chocolate works, too.
- Sweetened Condensed Milk: Adds sweetness and helps keep the chocolate soft as it cools.
- Corn Syrup: Gives the chocolate a smooth, shiny finish. Real maple syrup can substitute.
- Salt: Balances the sweetness and brings out the chocolate flavor.
- Milk: Thins the chocolate to your preferred dipping consistency.
- Vanilla Extract: Adds a little extra flavor.

How to Make Dipping Chocolate
The recommended method is on the stove; however, I also include microwave directions on the printable recipe card at the bottom of this post. Either will work just fine! Here are step-by-step instructions on how to make dipping chocolate:
Step 1: Melt Chocolate
Break the chocolate bars into pieces and place them in a small saucepan. Place over low heat and stir consistently with a rubber spatula until melted. Use the lowest possible burner setting. Alternatively, you can melt it over a double boiler if you’re worried about scorching the chocolate.


Add in sweetened condensed milk, corn syrup, and salt. Stir until it’s completely smooth and shiny.


Step 2: Determine Consistency
Slowly stream in milk to thin out the dipping chocolate to the desired consistency. As the dipping chocolate cools, it will thicken, so whether you serve it warm, at room temperature, or cold will determine how much milk you want to add. I only added 1/4 cup, but you can add more or less.
Make-Ahead Tip: Make this Dipping Chocolate up to 5 days ahead and store it in an airtight container in the refrigerator. If serving it cold, add a little extra milk since the chocolate thickens as it cools. To serve warm, microwave in a microwave-safe bowl, stirring every 30 seconds, and add a splash of milk if needed. For extra shine, stir in a little coconut oil.

Step 3: Remove from Heat and Serve
Remove the saucepan from the heat and stir in the vanilla extract. Pour the chocolate into a serving bowl and serve with your favorite dippers.
Let everyone dip their treats in the chocolate, letting any excess drip off before serving. If you’re preparing dipped treats ahead of time, place them on a parchment-lined baking sheet to set.

Tips for Success
- Use a rubber spatula: It helps scrape the bottom and sides of the pan so the chocolate melts evenly without scorching.
- Let the chocolate melt before adding more ingredients: Make sure the chocolate is mostly melted before stirring in the condensed milk, corn syrup, and salt for a smoother finish.
- Dry fruit thoroughly: Pat refrigerated strawberries and other fruit dry before dipping so the chocolate sticks evenly.
- Keep the dip warm: Use a fondue pot or warming dish to keep it smooth during longer serving sessions.
What to Serve with Dipping Chocolate
Pair this dipping chocolate with your favorite treats! Here are some great options to get you started:
- Strawberries or other berries
- Apple and pear slices
- Grapes
- Banana slices
- Rice Krispie treats
- Brownie
- Cookies, like Shortbread Cookies
- Pretzels, for dipping or drizzling with chocolate
- Potato chips, for a sweet and salty combination
- Angel food cake cubes, using this Angel Food Cake recipe
Pro Tip: The easiest way to dip most of these treats is to place them on the end of a cocktail or a fondue instrument. You can hold strawberries by their top leaves, but most other items will need a utensil so you can ensure they are fully dipped and you don’t drop them in the pool!


Serve this Dipping Chocolate for Valentine’s Day, Christmas, birthdays, or whenever you’re in the mood for something sweet! Grab your favorite fruits and treats, and get dipping.
The printable recipe card is below. Enjoy!

Easy Dipping Chocolate
Ingredients
- 8 ounces semi sweet chocolate
- 14 ounces sweetened condensed milk
- 2 tablespoons corn syrup or maple syrup
- 1/8 teaspoon salt
- 1/4 cup milk or more, as needed
- 1 teaspoon vanilla extract
Instructions
-
Break chocolate into pieces and place into the bottom of a small saucepan. Place over low heat and consistently stir to melt. You want your burner at the lowest possible setting and you don’t want to walk away during this melting process. Once the chocolate is almost completely melted turn off the burner and keep mixing until completely smooth. Alternately, you can do this over a double boiler if you’re worried about scorching the chocolate.
-
Add in sweetened condensed milk, corn syrup and salt. Stir until completely smooth and shiny.
-
Slowly stream in milk to thin out the dipping chocolate to the desired consistency. As the dipping chocolate cools, it will get thicker, so depending on if you’d like to serve this warm or cold will determine how much milk you’ll want to add. You may want to heat chocolate mixture up again on low if using cold milk.
-
Remove from heat and stir in vanilla. Pour into bowl and serve with strawberries, cookies, bananas, brownies, rice krispie treats, etc..
Video
Notes
Nutrition
Variations
Here are a few easy ways to change up this Dipping Chocolate depending on what you like or what you have on hand.
- Dark Chocolate: Use dark chocolate instead of semi-sweet for a richer, less sweet dip.
- White Chocolate: Swap in white chocolate for a sweeter dip that pairs well with berries and pretzels.
- Chocolate Drizzle: Add a little extra milk to make the chocolate thinner for drizzling over cookies, brownies, or fruit.
- Mint Chocolate: Add a small amount of peppermint extract for a minty chocolate dip.
More Sweet Treats to Try!
If you make this recipe, I would really appreciate it if you would give it a star rating and leave your review in the comments! If you have a picture of your finished dish, post it on Instagram using the hashtag #laurenslatest and tag me @laurens_latest.