Pumpkin Pie
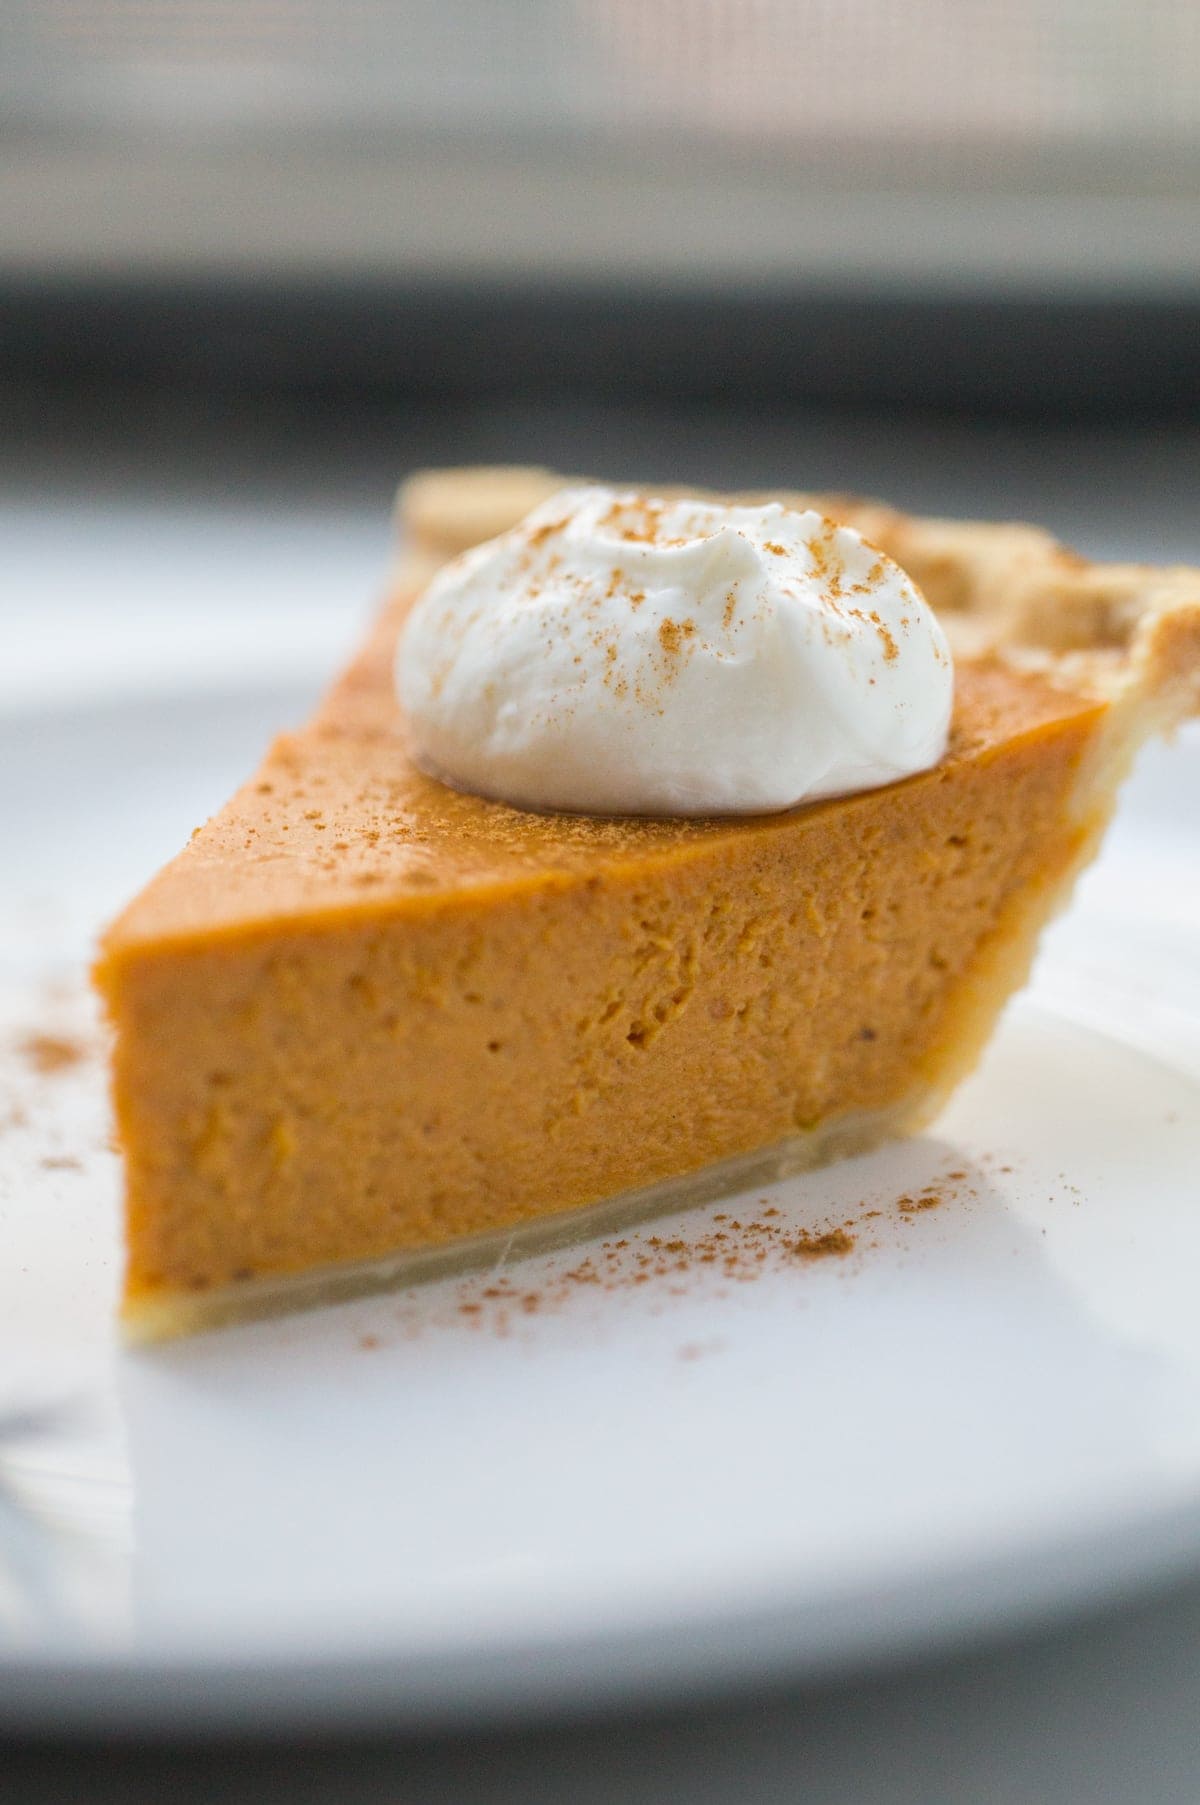
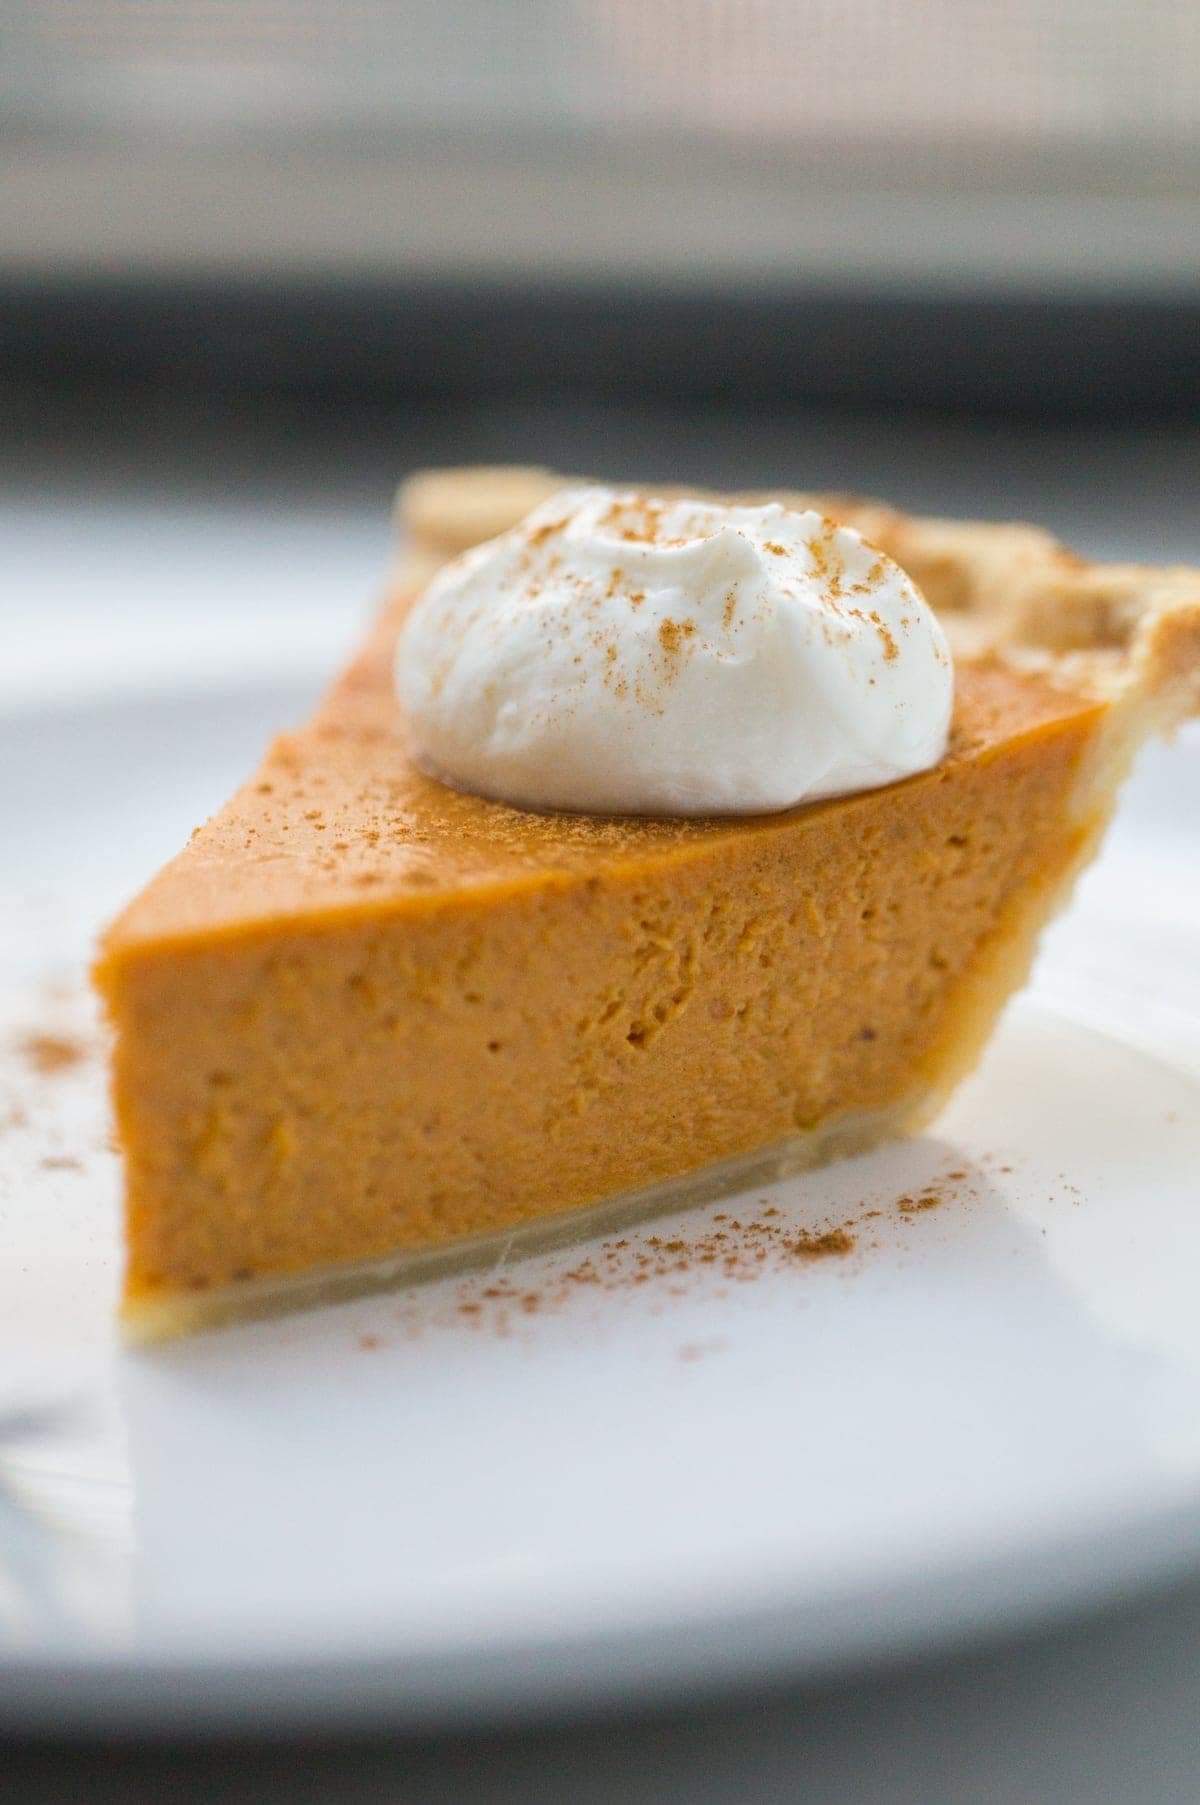
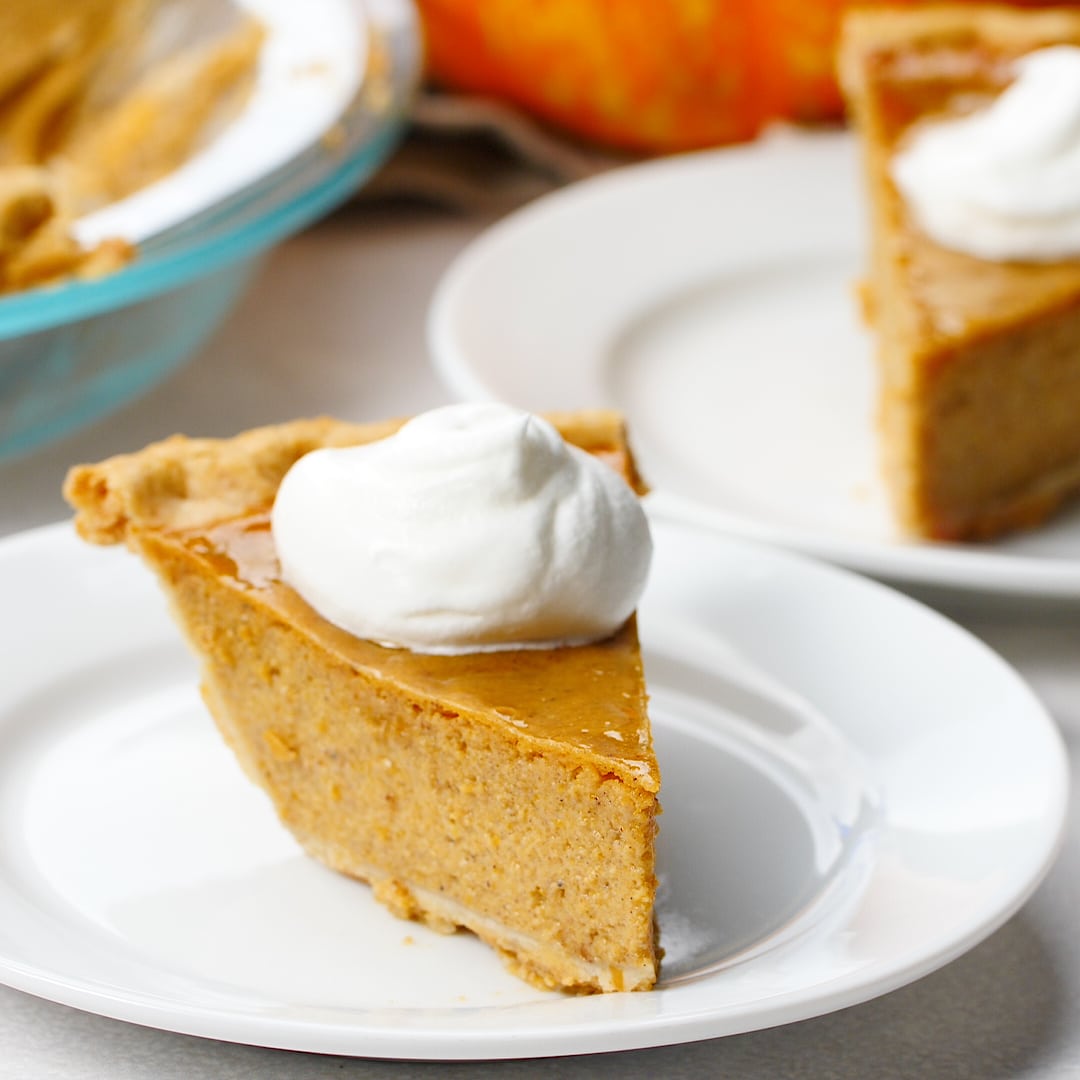
There’s a reason this classic Pumpkin Pie shows up on Thanksgiving tables year after year. This one is simple, homemade, and packed with warm pumpkin spice flavor, with a smooth filling that stays crack-free. No fancy tricks, just an easy pumpkin pie you can count on every time.
And if you’re in the mood to switch things up, try my Pumpkin Cheesecake, Pumpkin Cheesecake Cake, or check out all of my pumpkin desserts.
Pie Crust Options
The base of any pie recipe is the crust! For a pumpkin pie, you have three basic options for crust. This decision comes down to preference. I always use a shortening crust because it’s what I grew up with, but here are some other choices:
- Store Bought – some people are perfectly happy and content with store-bought pie crust (either pre-pressed or the dough that you roll out and blind bake). If this is you, great! IF you want to make it from scratch see my two recipes below.
- All Butter – this pie crust uses all butter (no shortening) and yields flaky delicious results. One recipe makes 4 crusts so be sure to use the serving adjuster in the recipe card.
- Shortening – this pie crust recipe uses more ingredients but is a little bit more forgiving than the all-butter recipe. Plus I have some tips about blind baking.
Pumpkin Pie Filling vs Pure Pumpkin
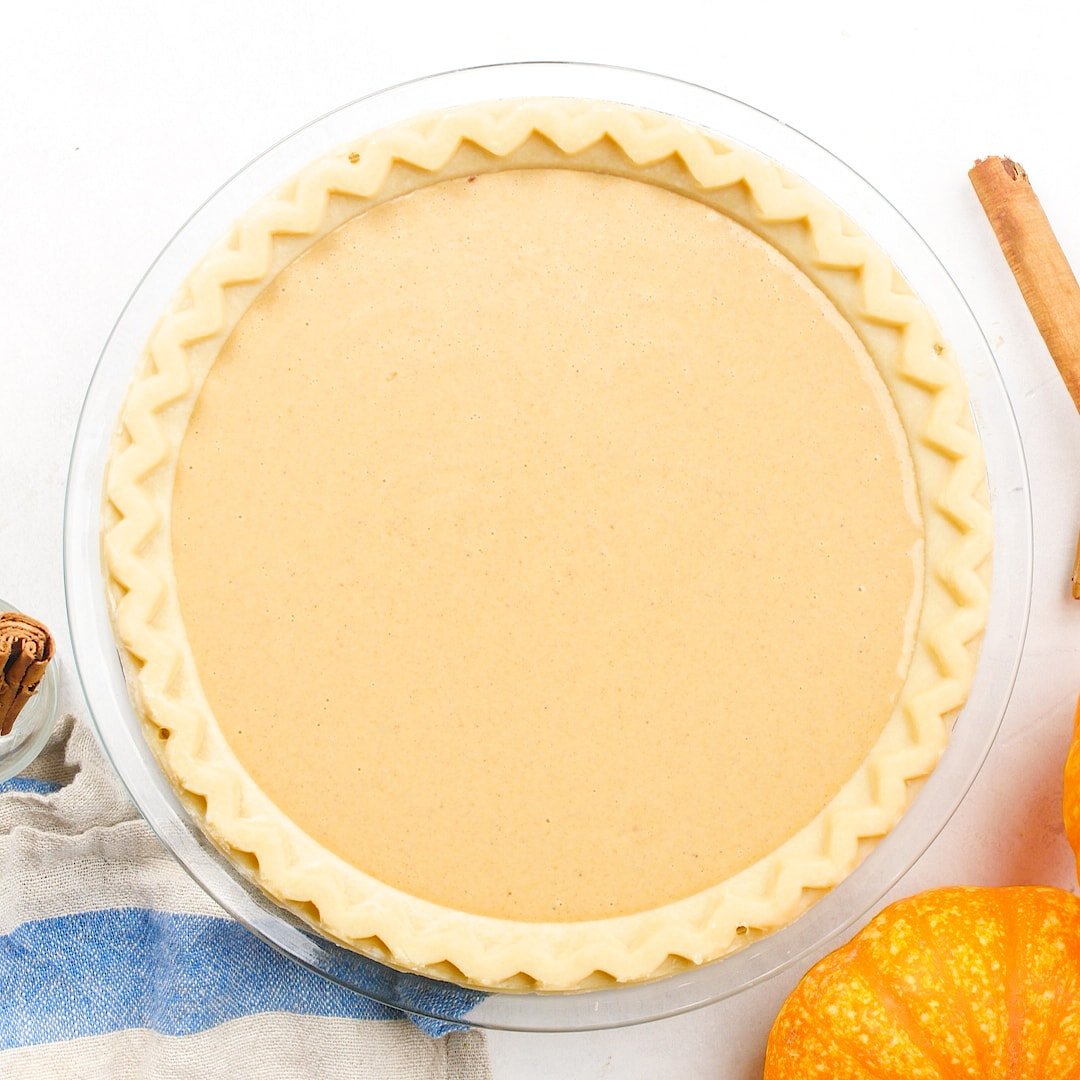
This Pumpkin Pie recipe calls for 100% Pure Canned Pumpkin. This is a plain, pureed pumpkin that is canned with no additional sweeteners or spices. For this recipe, we add things like eggs for structure, spices for flavor, and sweetened condensed milk for moisture and sweetness.
Pumpkin Pie Filling is also canned but has spices and sweeteners added in already. They are commonly mistaken for the same thing. They are not! Be sure to use 100% Pure Pumpkin.
Traditional Pumpkin Pie Toppings
The two most traditional toppings for pumpkin pie are whipped cream and vanilla ice cream. You can absolutely buy these or if you want to stick to the homemade route I have a recipe for both homemade whipped cream and homemade vanilla ice cream.
You can also top your pie with things like graham cracker crumbs, a sprinkling of cinnamon, a streusel topping, toasted nuts, or even caramel sauce.
Love Pumpkin? Try these other family favorites: Pumpkin Bread, Pumpkin Cookies, Bakery-Style Pumpkin Muffins, Pumpkin Roll Cake.
Ingredient Notes
You only need a few simple ingredients to make this pumpkin pie. Here’s what each one brings to the filling and crust.
- Unbaked Pie Shell – A 9-inch unbaked pie shell makes this recipe especially easy since you can pour the filling straight in and bake it all at once.
- Pumpkin Puree – Use plain 100% pumpkin puree, not pumpkin pie filling, since the spices and sweetness are added separately.
- Sweetened Condensed Milk – This adds sweetness and moisture to the filling and helps give the pie its smooth texture without cracking.
- Eggs – Two eggs help the pumpkin filling set as it bakes while keeping it soft and creamy.
- Pumpkin Pie Spice – Pumpkin pie spice keeps things simple, but you can also use a mixture of cinnamon and nutmeg for the same warm, classic flavor.
How to Make a Classic Pumpkin Pie
Everyone has a recipe for pumpkin pie that they are pulling out for the holidays but let me tell you that this Pumpkin Pie recipe will be your new go-to. It’s a good solid fall-back recipe that everyone will be impressed by! For a step-by-step video guide scroll down to the recipe card below. 
Step 1: Preheat Oven + Prepare Pie Crust
Preheat oven to 350° F. Prep and roll out your pie crust if applicable. There is no need to blind bake your pie crust, it will bake along with the filling.
Step 2: Make Pumpkin Pie Filling
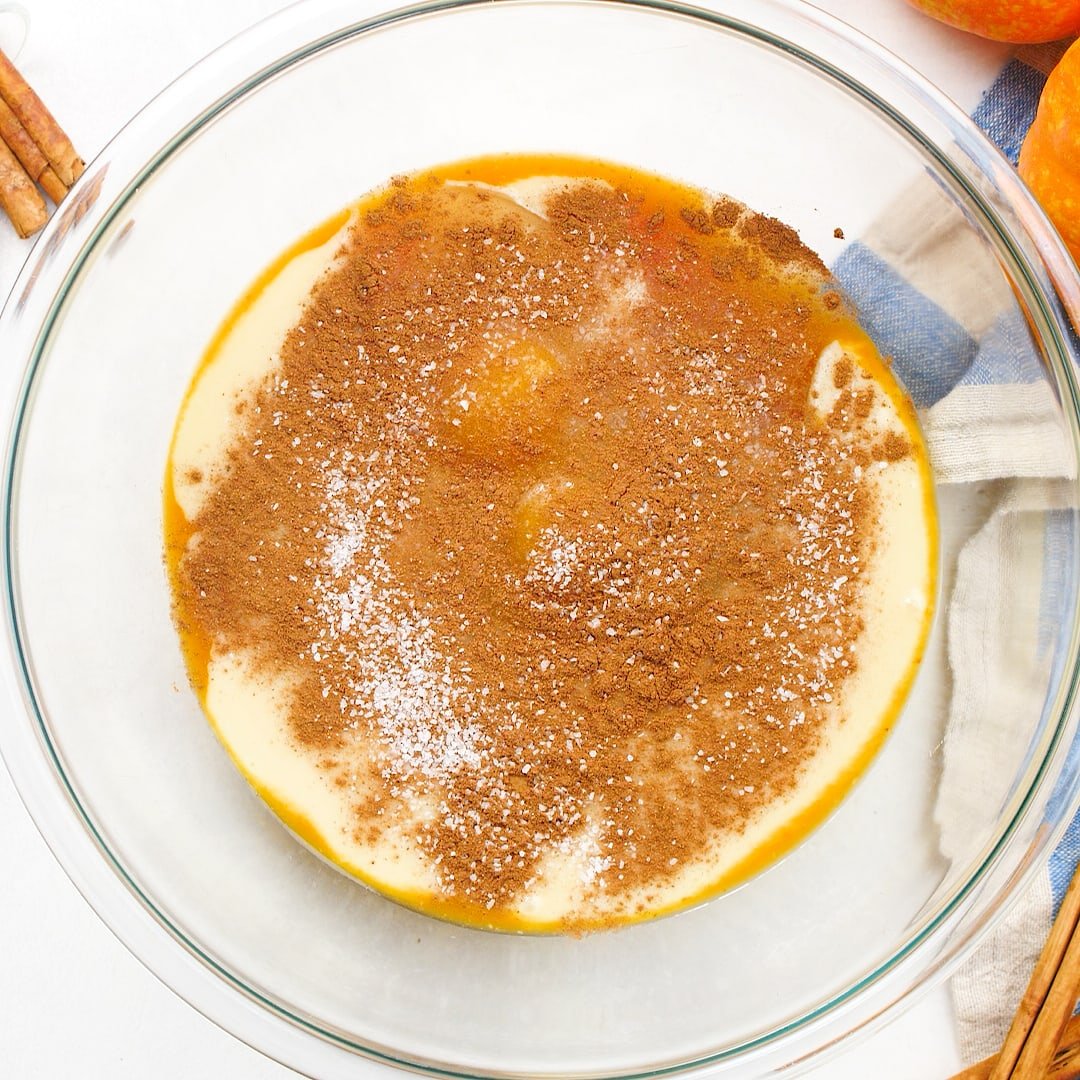
In a large bowl, whisk pumpkin, condensed milk, eggs, cinnamon, nutmeg, and salt together until uniform in color and smooth.
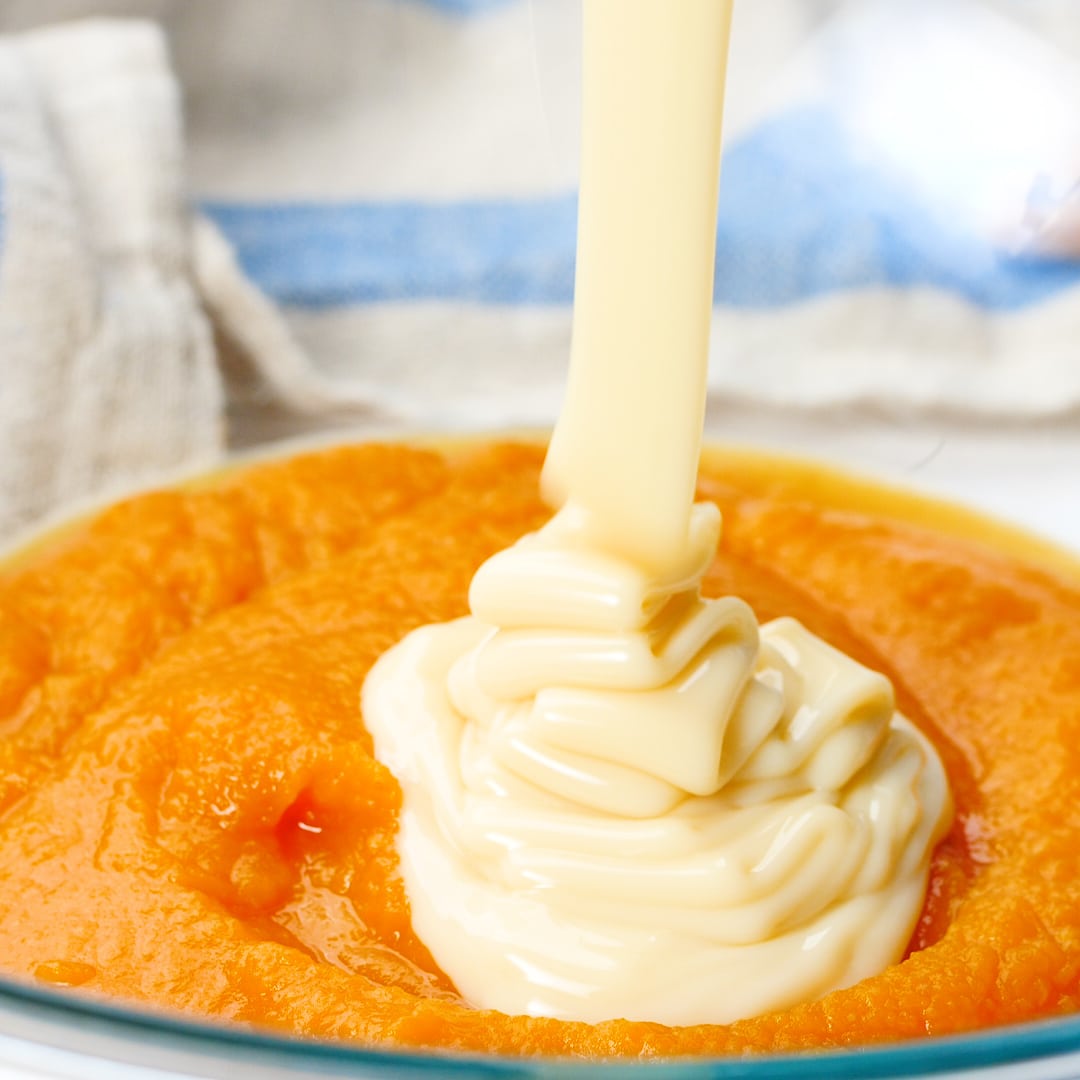
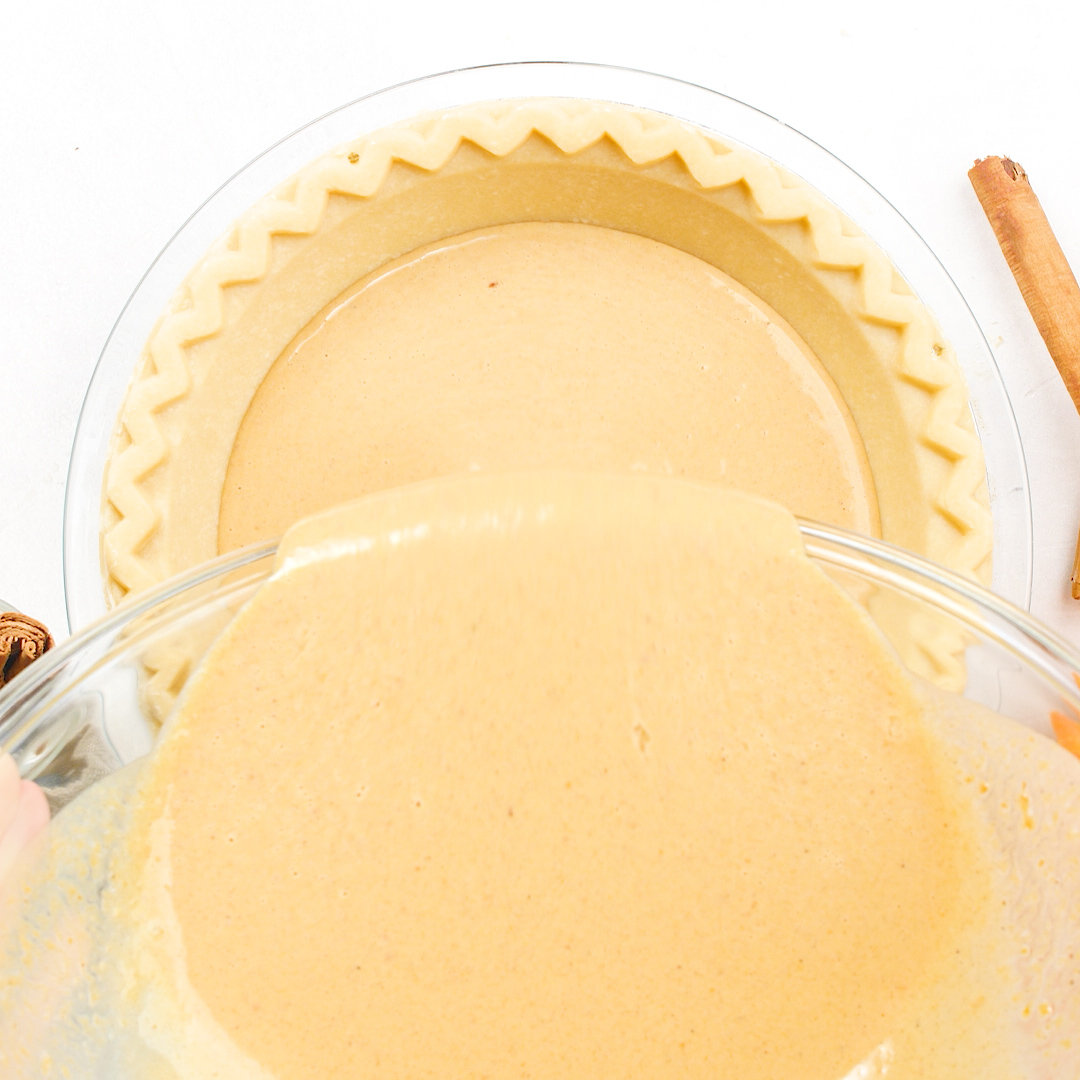
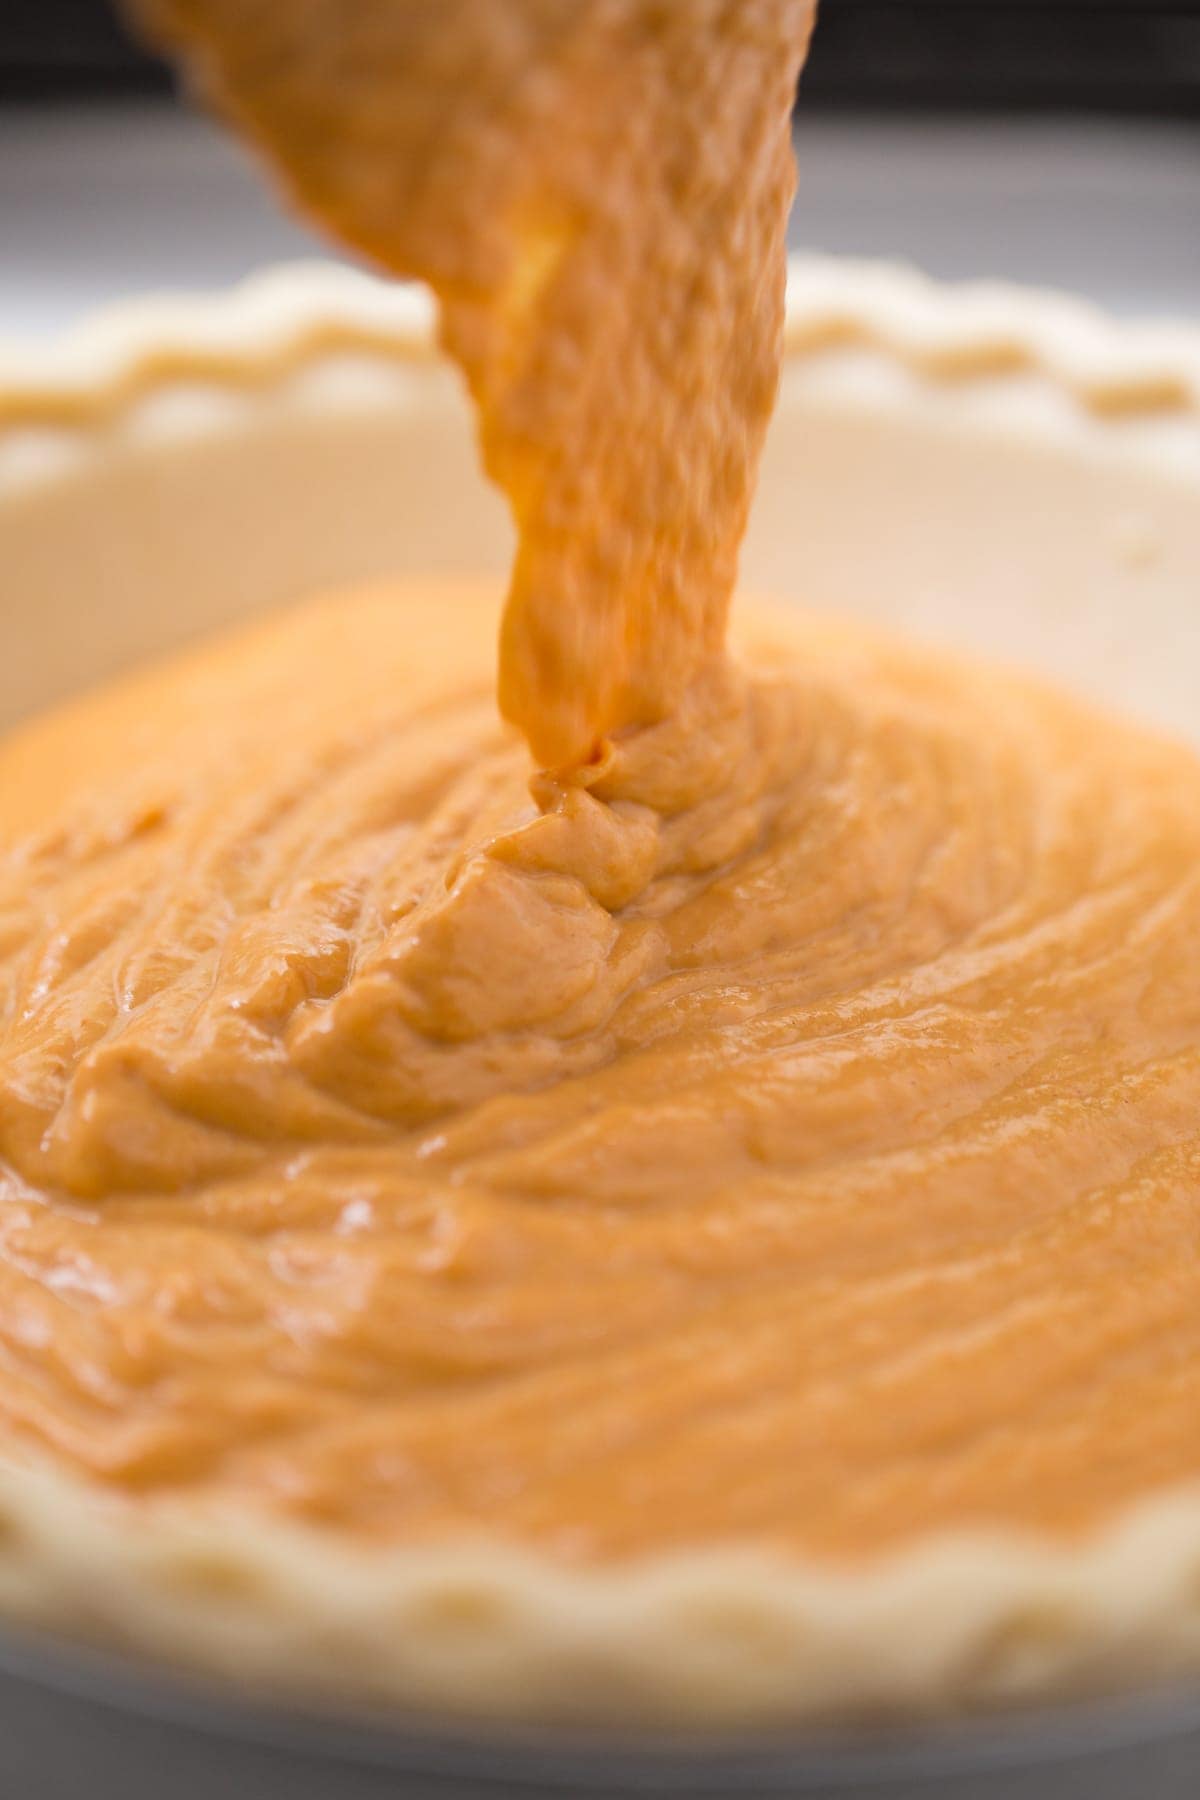
Pour pumpkin mixture into unbaked pie shell and spread evenly.
Step 3: Bake + Cool
Bake 40-45 minutes until the center is set. Remove from oven and cool completely.
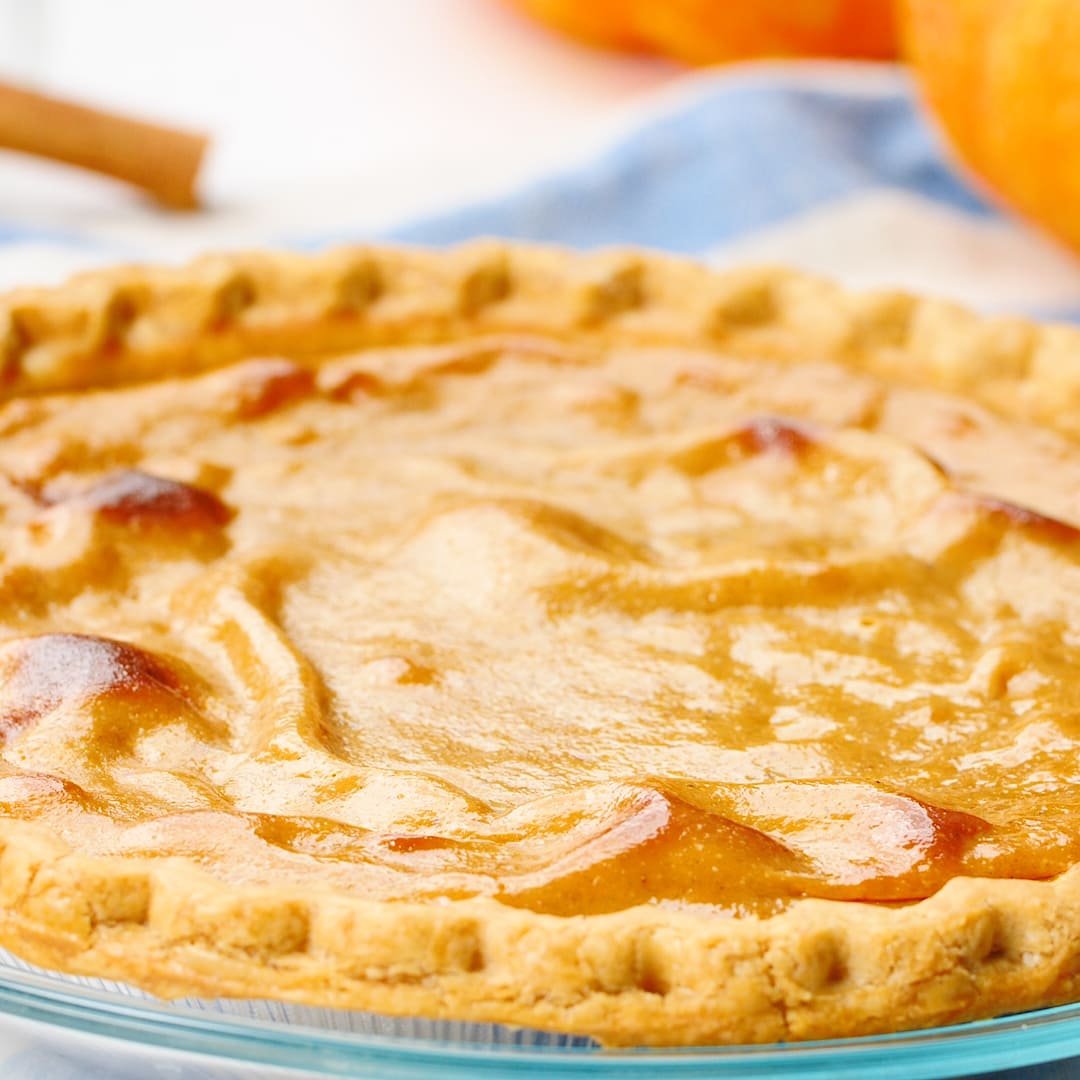
Pro Tip: If your pie crust is getting too dark and your filling hasn’t set yet try using a pie shield (or simply cover the edges with aluminum foil) and continue baking. Also, try moving your pumpkin pie lower down in the oven. Typically, the higher in the oven, the darker on top it’ll get.
Step 4: Refrigerate + Serve
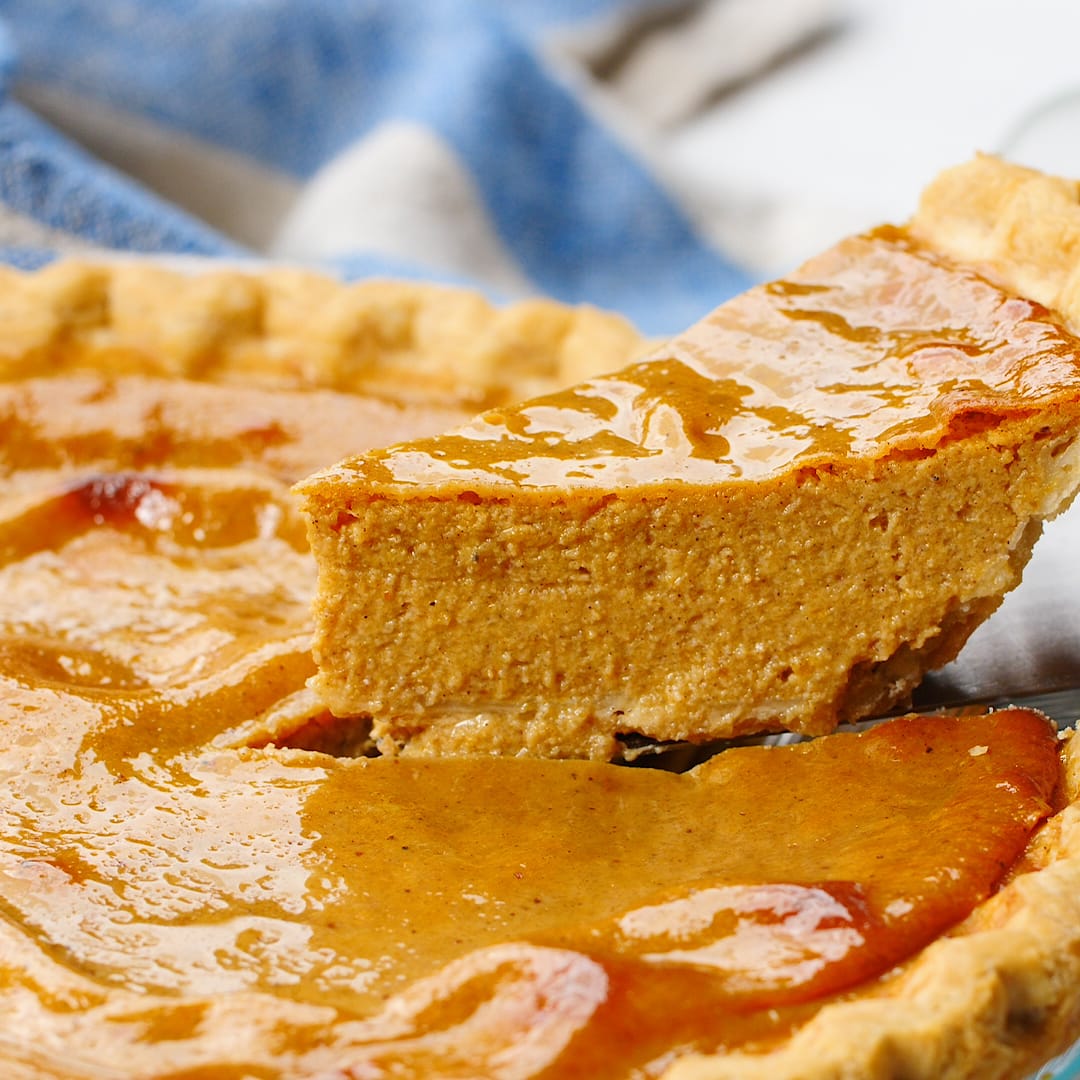
Refrigerate until ready to serve. Cut into slices, top with cream, and serve!
Tips for Success
A few simple tips will help you get the best texture and finish every time.
- Don’t overmix the filling. Whisk just until everything is combined and smooth. Mixing too much can add extra air, which may cause the filling to puff up in the oven and settle unevenly as it cools.
- Check the center, not just the edges. The pie is ready when the outer edges look set but the center still has a gentle wobble. A completely firm center straight from the oven usually means the pie has baked longer than it needs to.
- Let it cool before covering it. Trapping heat under plastic wrap or foil can create condensation on the surface and leave the crust soggy. Cool the pie first, then cover and refrigerate.
- Don’t worry about a small crack. While this pumpkin pie is less likely to crack thanks to the sweetened condensed milk, other pumpkin pies can. If yours does, cover it with whipped cream or sprinkle crushed gingersnaps over the top. No one will know the difference!
What to Serve With Pumpkin Pie
Pumpkin pie is a classic Thanksgiving dessert, so I’d keep the rest of the menu just as classic. These recipes make great additions to a Thanksgiving spread:
- Air Fryer Turkey Legs – Juicy turkey legs with crispy skin make an easy main dish for Thanksgiving.
- Cream Cheese Mashed Potatoes – Creamy mashed potatoes are a must alongside turkey and gravy.
- Green Bean Casserole With Bacon – A cozy vegetable side that fits right in with the rest of the Thanksgiving table.
- Dinner Rolls – Soft homemade rolls are perfect for serving with dinner and mopping up leftover gravy.
- Cranberry Sauce – The sweet-tart flavor adds a nice contrast to the savory Thanksgiving dishes.
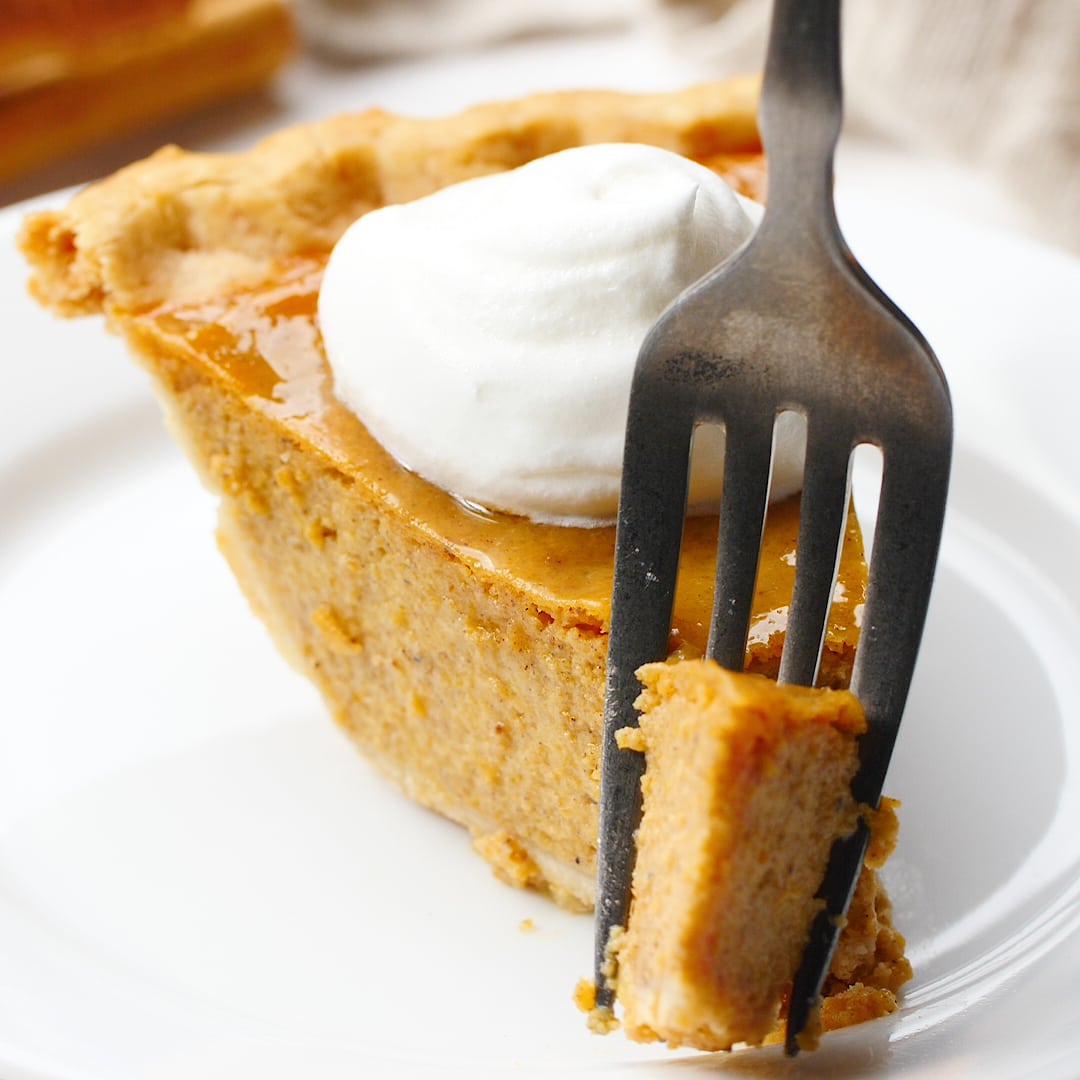
This pumpkin pie is perfect for Thanksgiving or anytime you’re craving a classic slice of pie. It’s an easy recipe to add to your family’s Thanksgiving traditions.
The printable recipe card is down below. Happy baking, friends!!
Pumpkin Pie Recipe
Ingredients
- 9 inch unbaked pie shell I used a frozen Marie Callender’s
- 15 oz pumpkin puree 1 can
- 14 oz sweetened condensed milk 1 can
- 2 whole eggs
- 1 1/2 teaspoons pumpkin pie spice or a mixture of cinnamon and nutmeg
- pinch salt
- sweetened whipped cream for garnish, if desired
Instructions
-
Preheat oven to 350 degrees.
-
In a large bowl, whisk pumpkin, condensed milk, eggs, cinnamon, nutmeg and salt together until uniform in color and smooth. Pour pumpkin mixture into unbaked pie shell and spread evenly.
-
Bake 40-45 minutes until the center is set. Remove from oven and cool completely.
-
Refrigerate until ready to serve.
-
Cut into slices, top with cream and serve!
Video
Nutrition
Other Thanksgiving Pies to Try
While the obvious and classic choice for a Thanksgiving dessert is Pumpkin Pie, here are some other tasty and appropriate choices:
- Pecan Pie
- Pumpkin Pecan Cobbler (one of my most popular recipes)
- Sweet Potato Pie
- Apple Pie
- Mixed Berry Pie with streusel!
- Whipped Brown Sugar Pecan Cream Pie
- Cranberry Cream Pie (like cranberry fluff but in a pie shell)
- Coconut Cream Pie
- Banana Cream Pie
Storing Pumpkin Pie
After baking and serving, refrigerate your leftover pumpkin pie to help it keep. This pie will last 5-7 days in the fridge, but to be honest, I usually don’t have any leftovers. It’s THAT good!
Can You Freeze Pumpkin Pie?
Absolutely you can! What makes this the best recipe for pumpkin pie is that you can make it months in advance for the ultimate holiday prep.
- Freeze. Simply mix your pumpkin pie filling and freeze right in the unbaked pie shell. Make sure to protect against frostbite by covering your pie with foil and or plastic wrap. Freeze for up to three months!
- Bake. Bake as normal, no need to defrost the pie. If you’re feeling nervous, you can defrost your pie in the fridge 24 hours before you plan to make it.
If you make this recipe, I would really appreciate it if you would give it a star rating and leave your review in the comments! If you have a picture of your finished dish, post it on Instagram using the hashtag #laurenslatest and tagging me @laurens_latest.