

The Original Fantasy Fudge Recipe
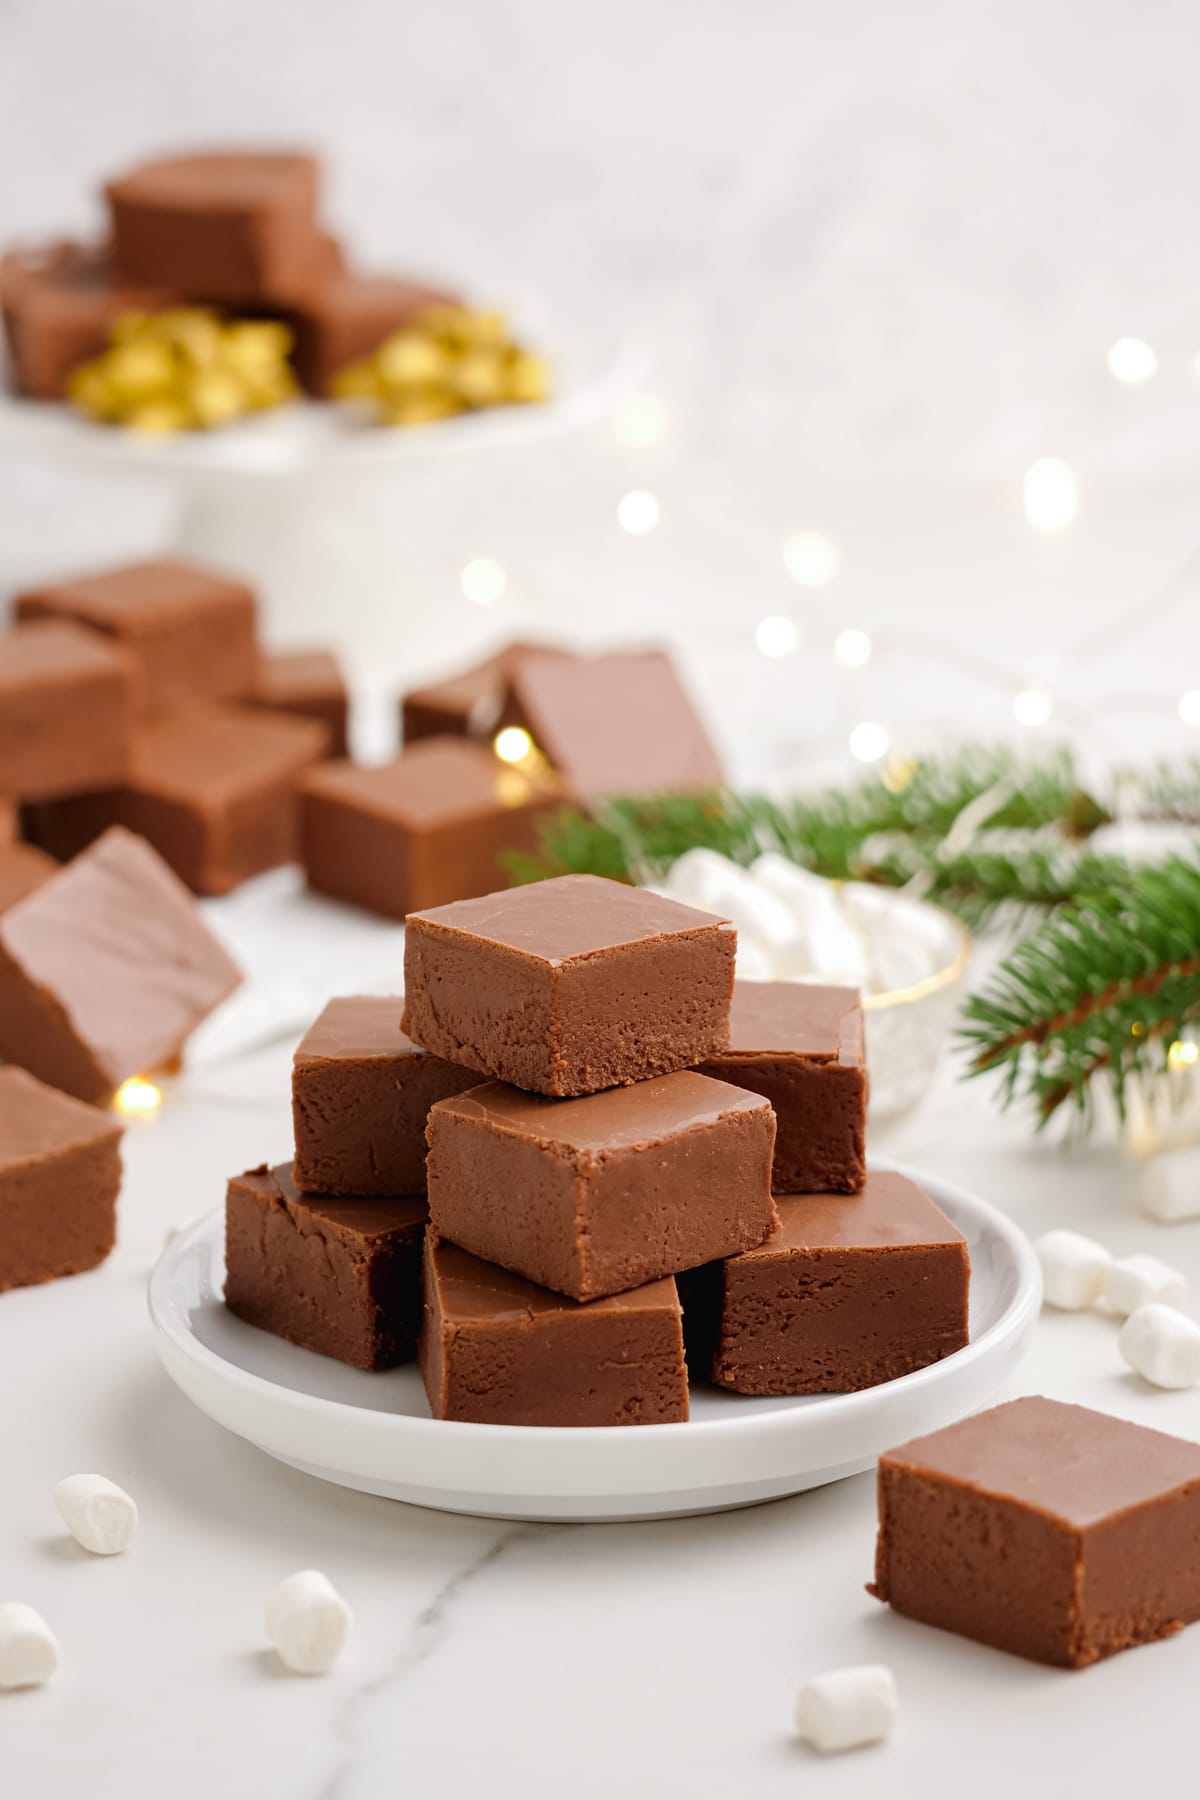
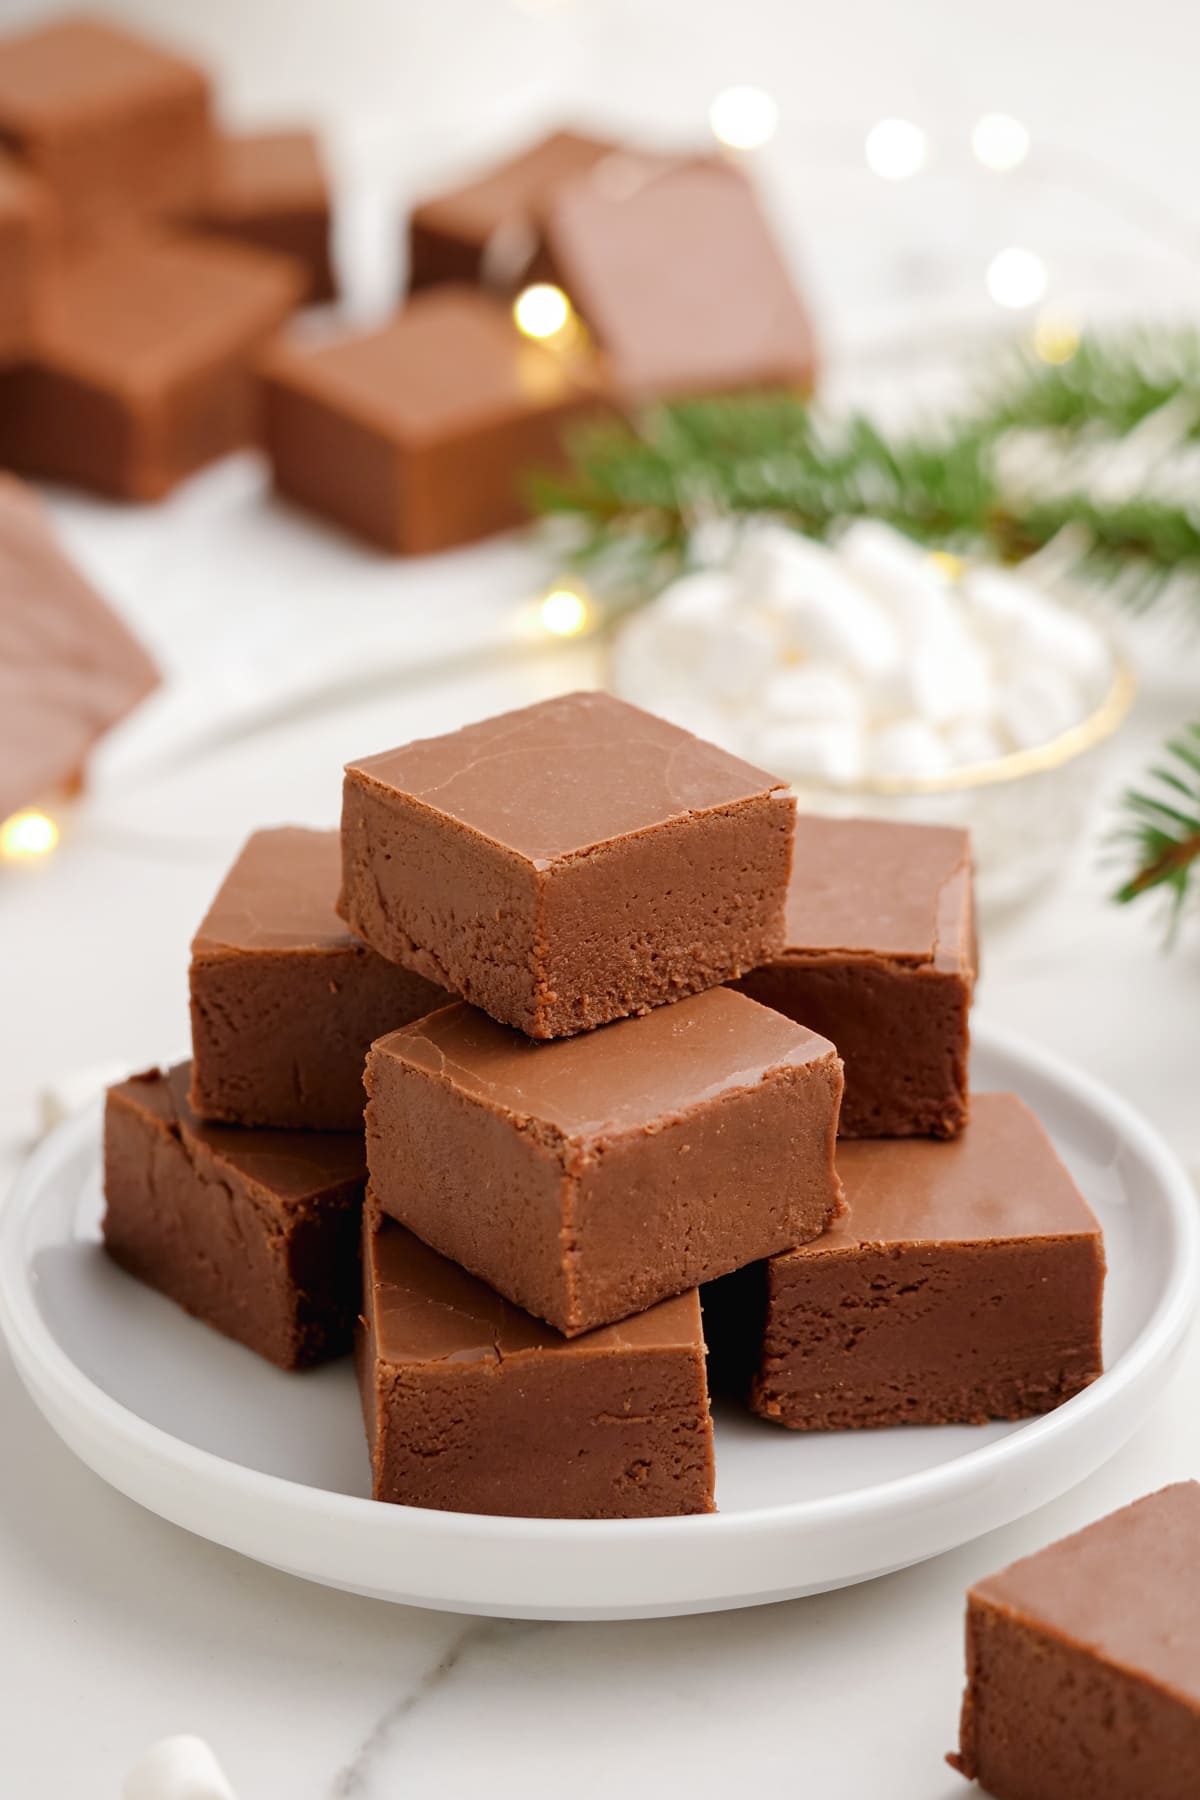
The Fantasy Fudge original recipe was found on the back of the Kraft Marshmallow Creme jar. Today, Fantasy Fudge has become a Christmas staple in many homes. My recipe tweaks the ingredients just slightly to make for a more quality fudge while still remaining that classic dessert we all know and love. I’ve nailed the method so you won’t end up with grainy, sad fudge. It’s rich, creamy, and slices beautifully… basically everything you want fudge to be.
Ingredient Notes
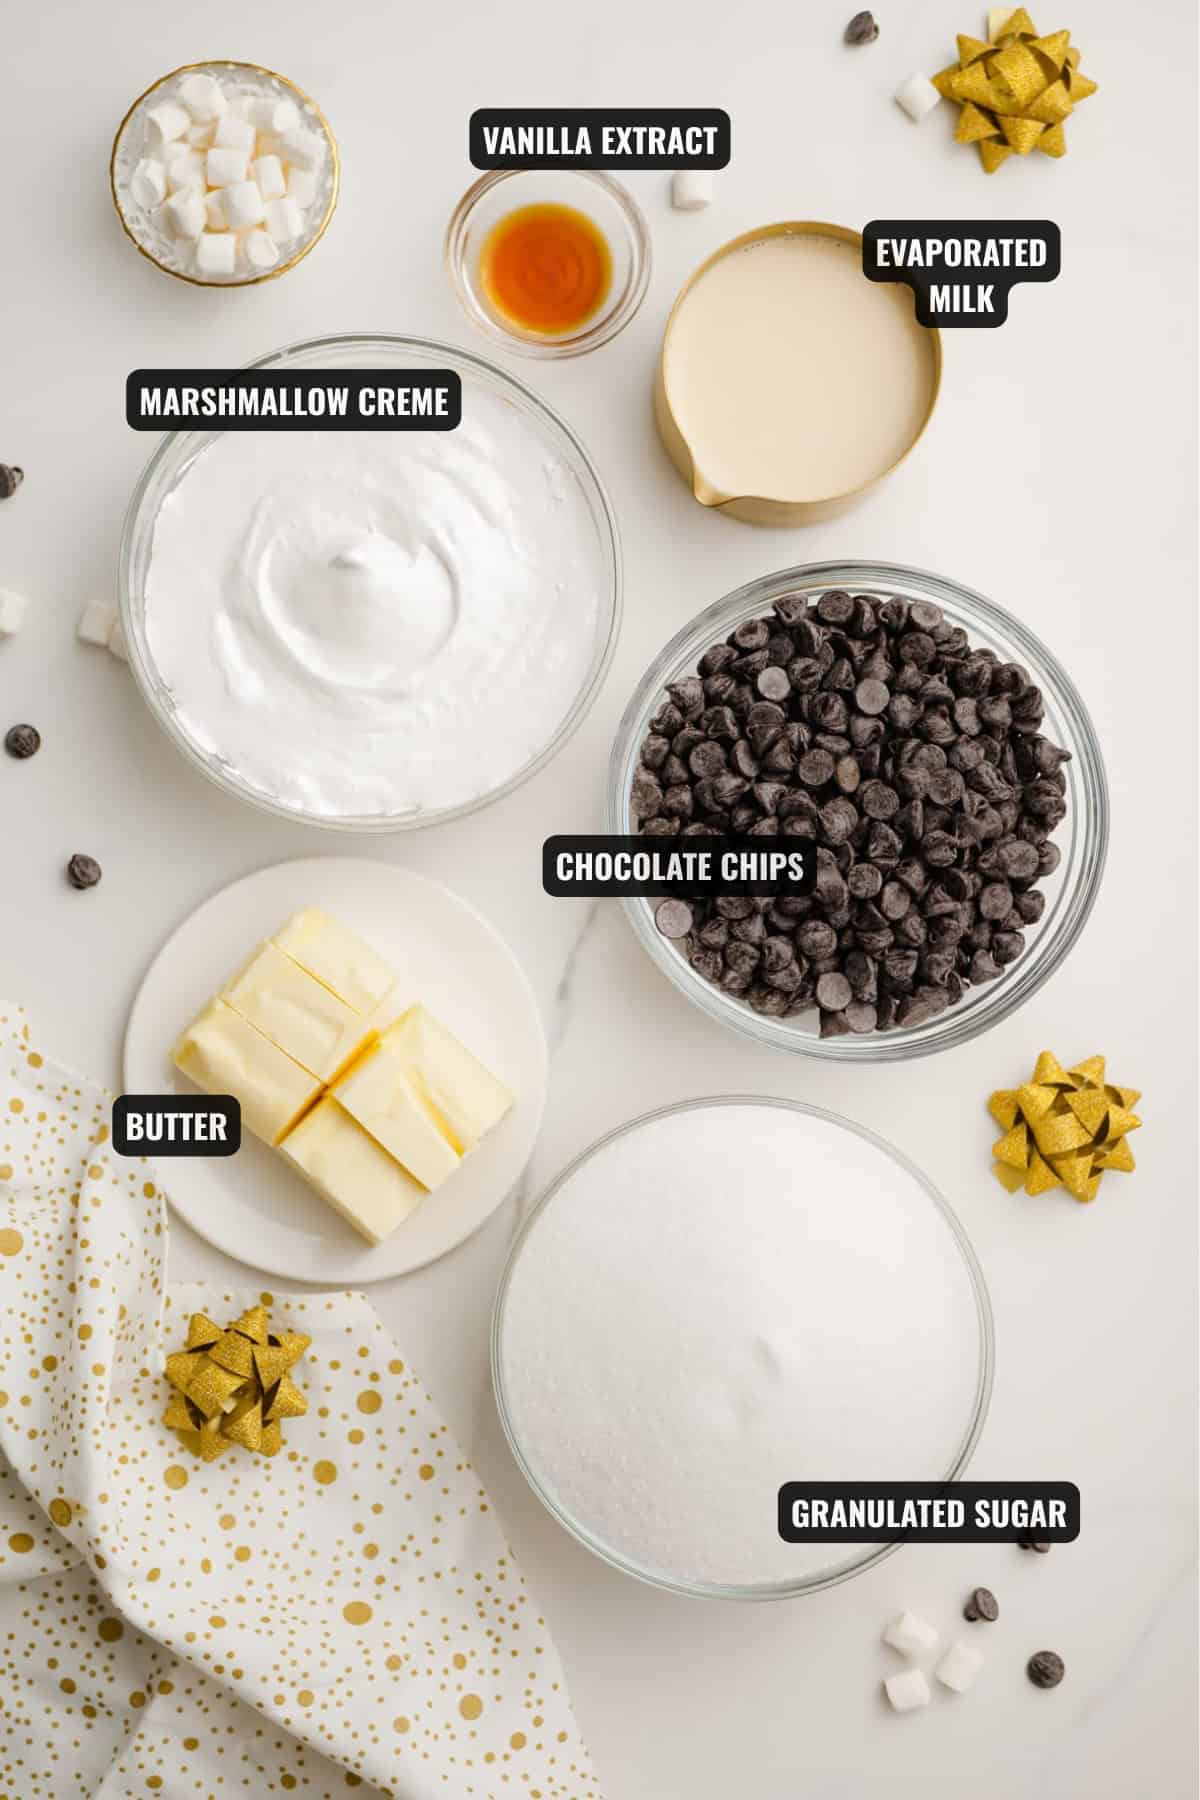
This fudge keeps it simple, but a few ingredients really make the difference. Here’s what you need to know before you start:
- Butter: The original recipe calls for margarine. In my humble opinion, nobody should be consuming that. Use real butter for the best texture and flavor. Salted or unsalted both work, just adjust added salt if using salted butter.
- Evaporated Milk: Evaporated milk keeps the fudge creamy while helping it set properly, so regular milk isn’t a good substitute.
- Chocolate Chips: Semi-sweet chocolate chips are classic, but you can use dark chocolate or a mix of milk and dark chocolate for a sweeter or richer fudge.
- Marshmallow Creme: Marshmallow creme gives the fudge its signature smooth, soft texture, and any brand works just fine.
- Optional Nuts: Chopped walnuts or pecans add a classic crunch and are best stirred in right before the fudge goes into the pan.
- Vanilla Extract: A little vanilla at the end brings all the chocolatey, buttery flavors together.
How to Make Fudge
This fudge comes together quickly, so measure everything first and have it ready to go. For full recipe details, including ingredients and measurements needed, see the printable recipe card down below.
Step 1: Prep the Pan
Spray a 9-inch square pan with baking spray and line with parchment paper, so that there is overhang on both sides (for easy lifting). The baking spray is optional, but helps the paper stick better.
Step 2: Boil the Sugar Mixture
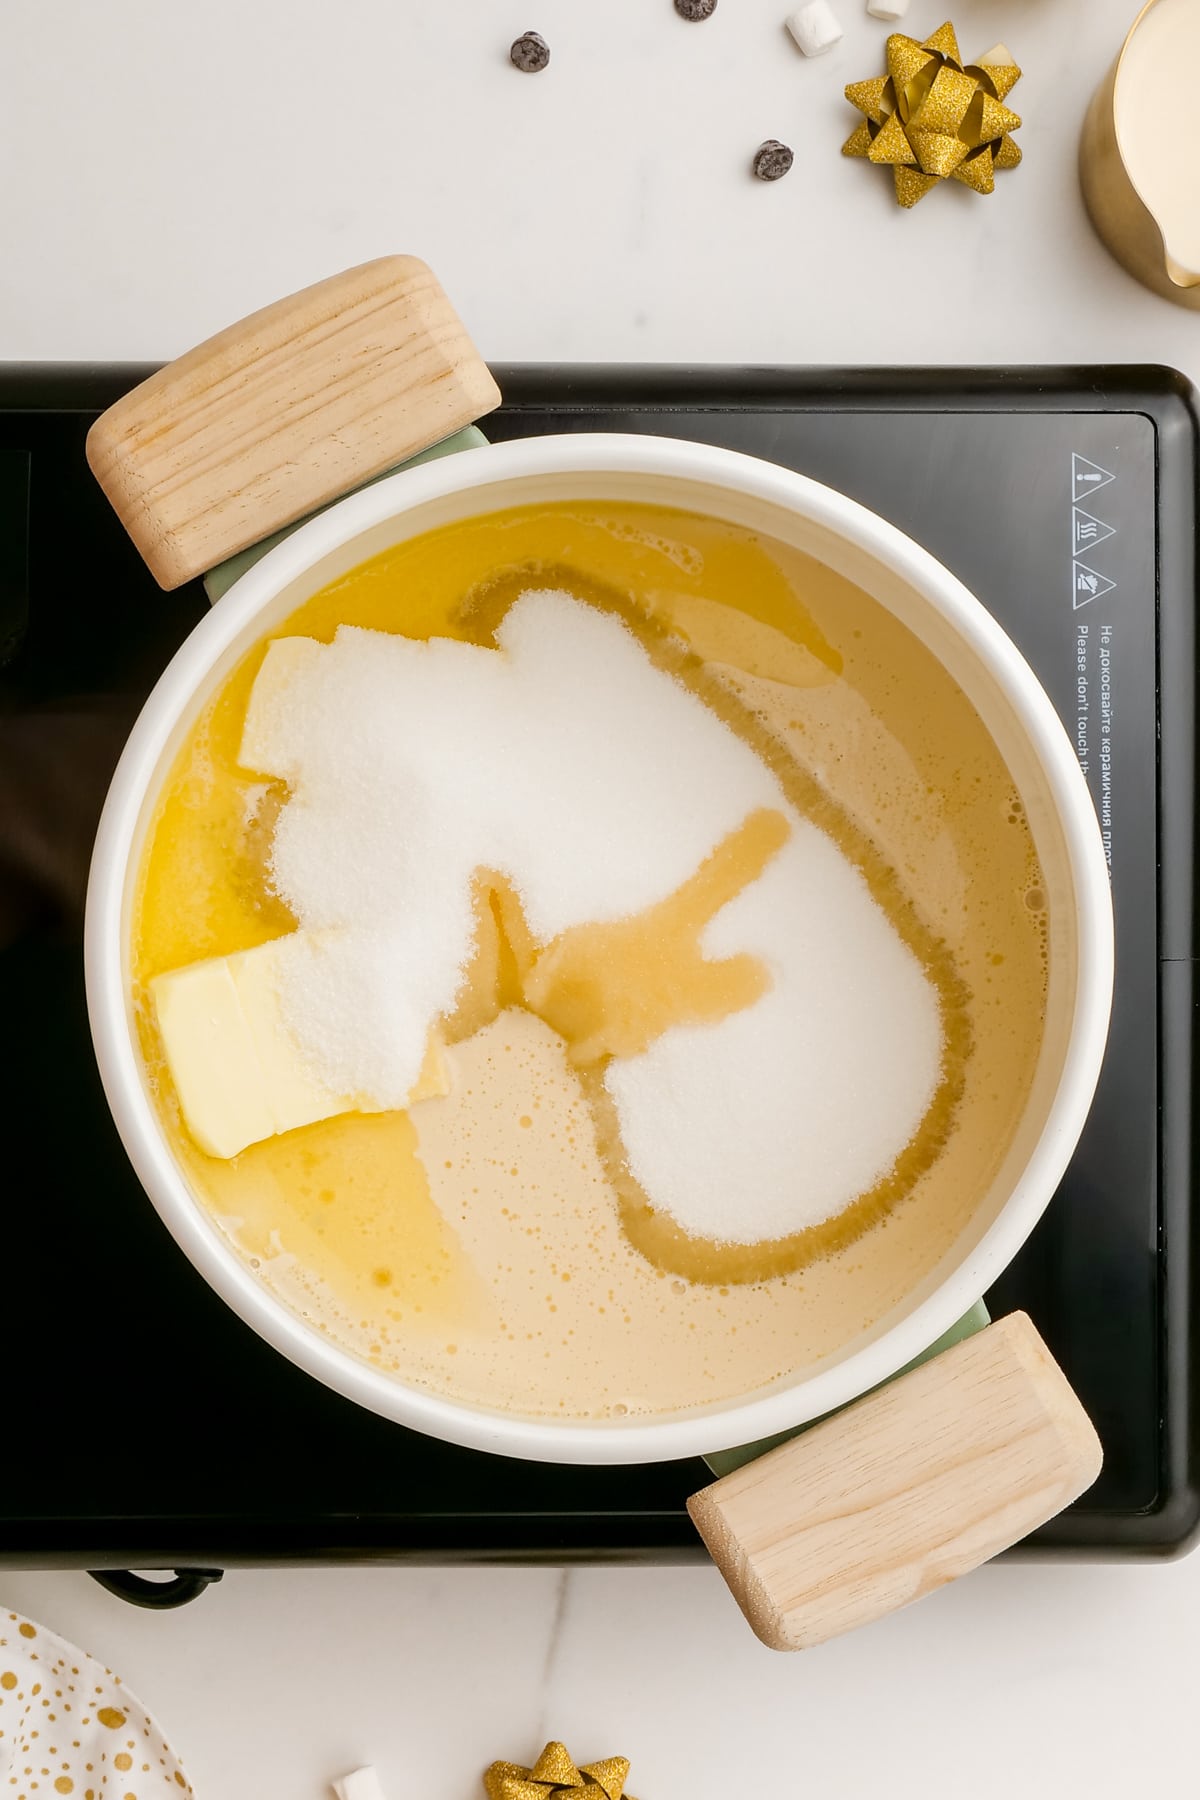
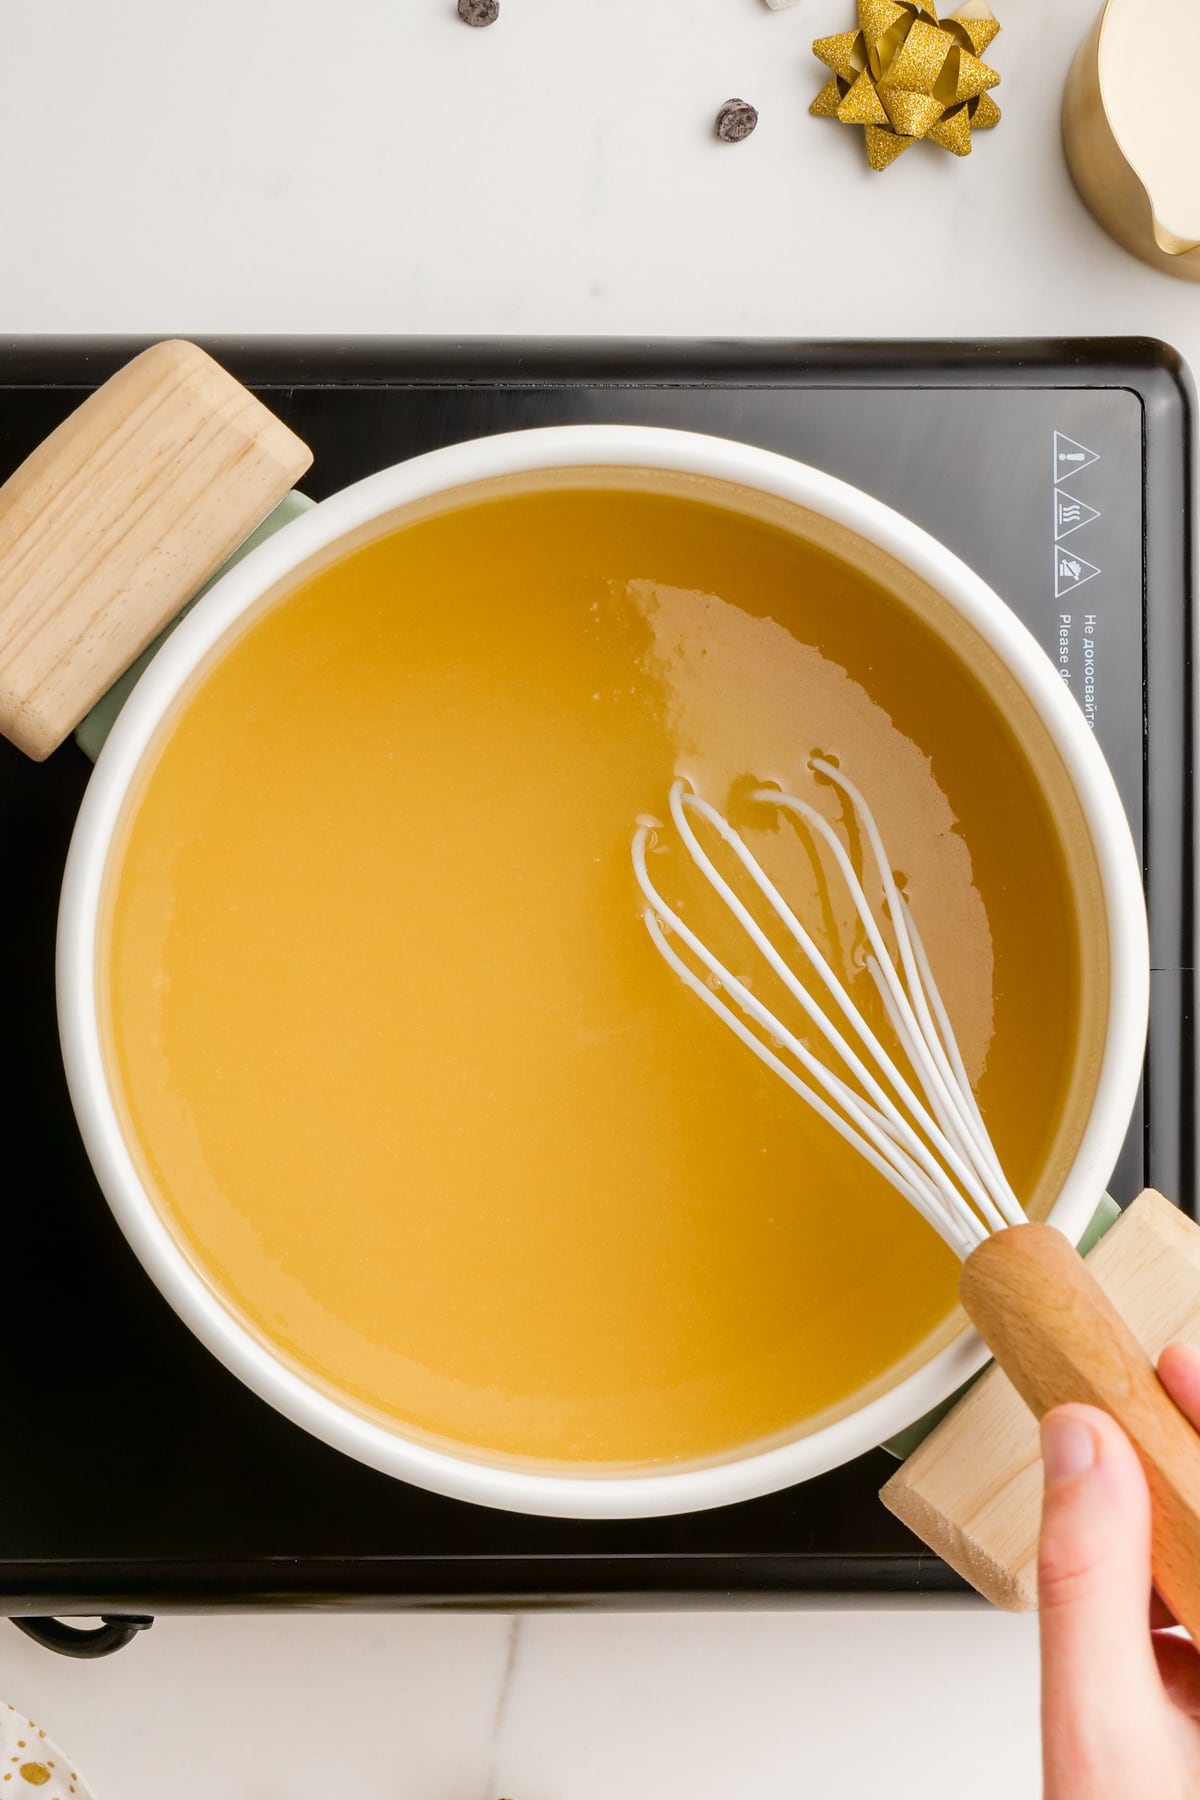
In a large saucepan over medium heat to medium high heat, bring unsalted butter, sugar and evaporated milk to a full rolling boil while stirring constantly to prevent scorching.
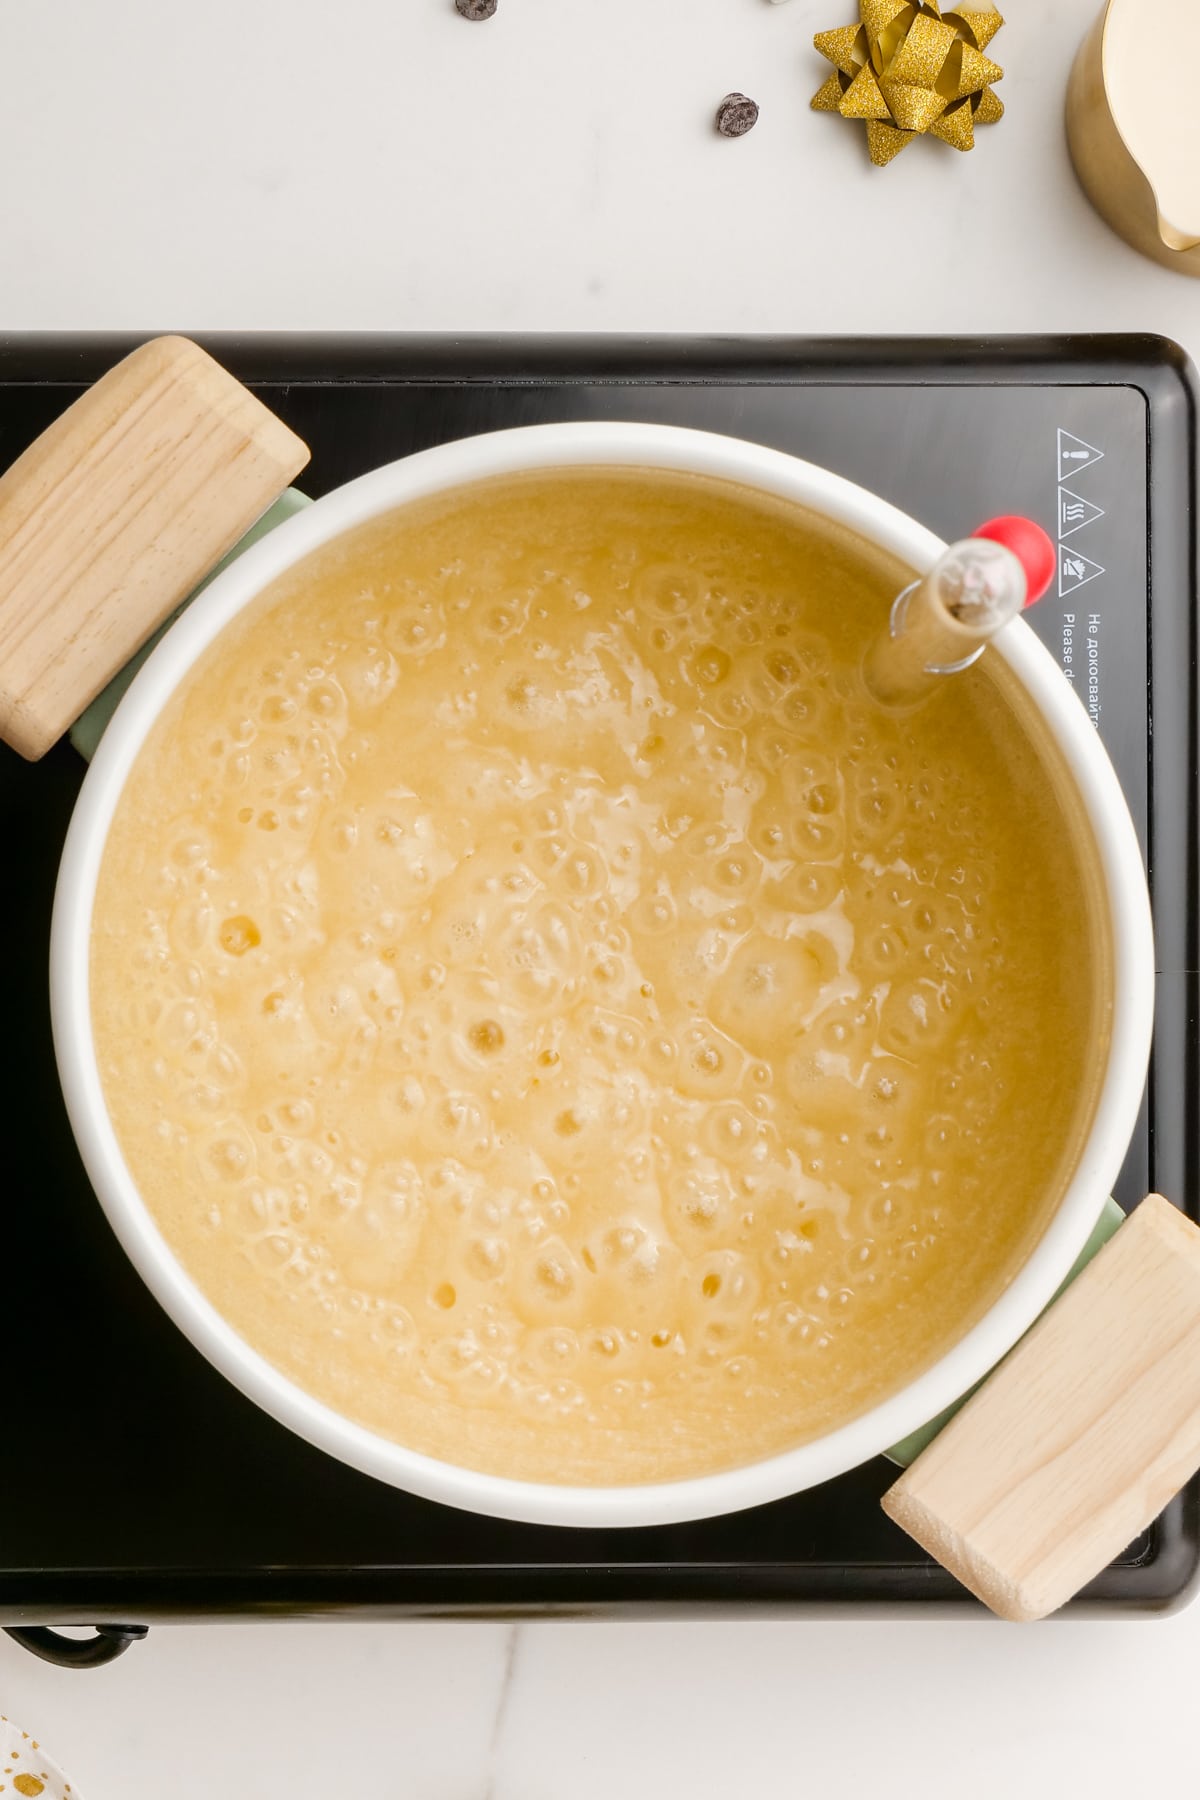
Continue to stir the sugar mixture constantly and boil for 5-10 minutes until candy thermometer reaches 234° F. THIS IS VERY IMPORTANT. Do not stop until it reaches 234° F.
It will be boiling hard and violently. Remove from heat.
Step 3: Stir in Vanilla, Chocolate Chips + Marshmallow Creme
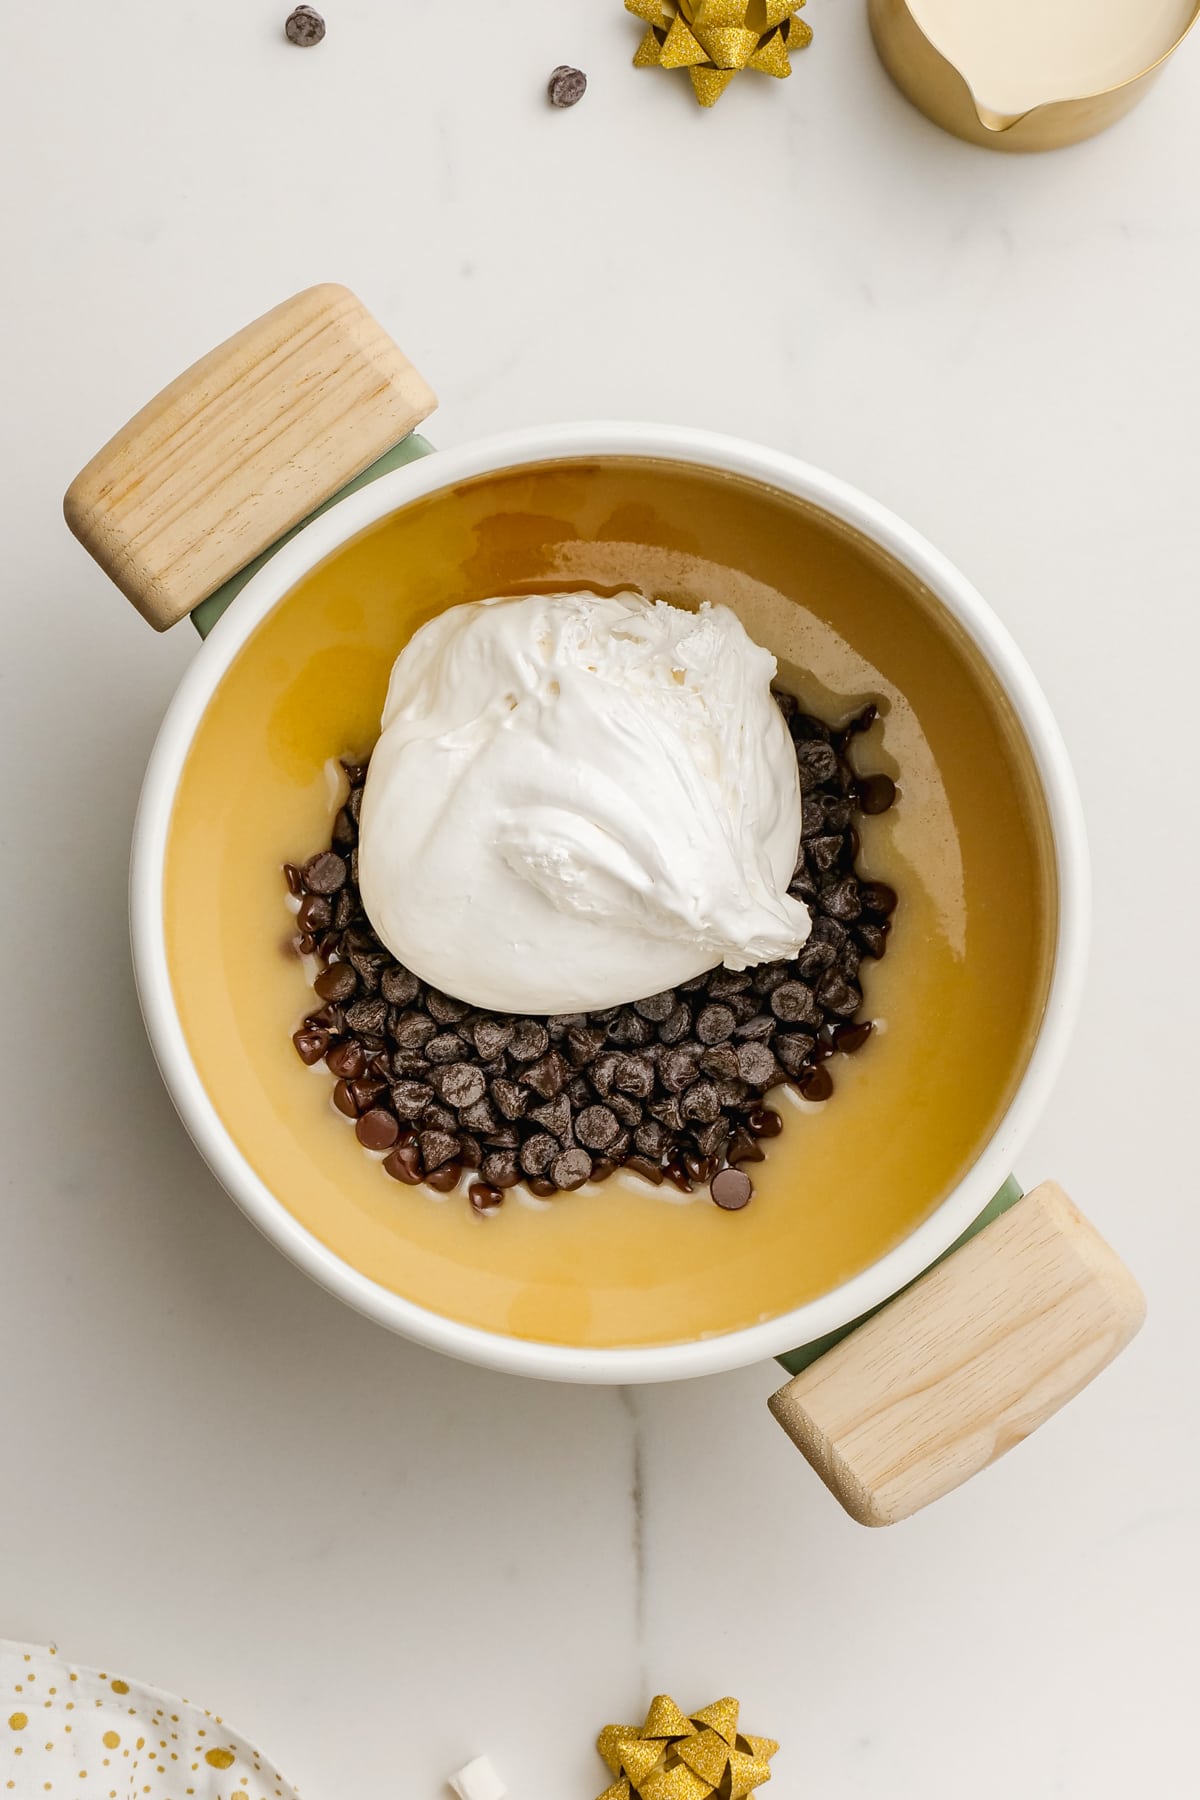
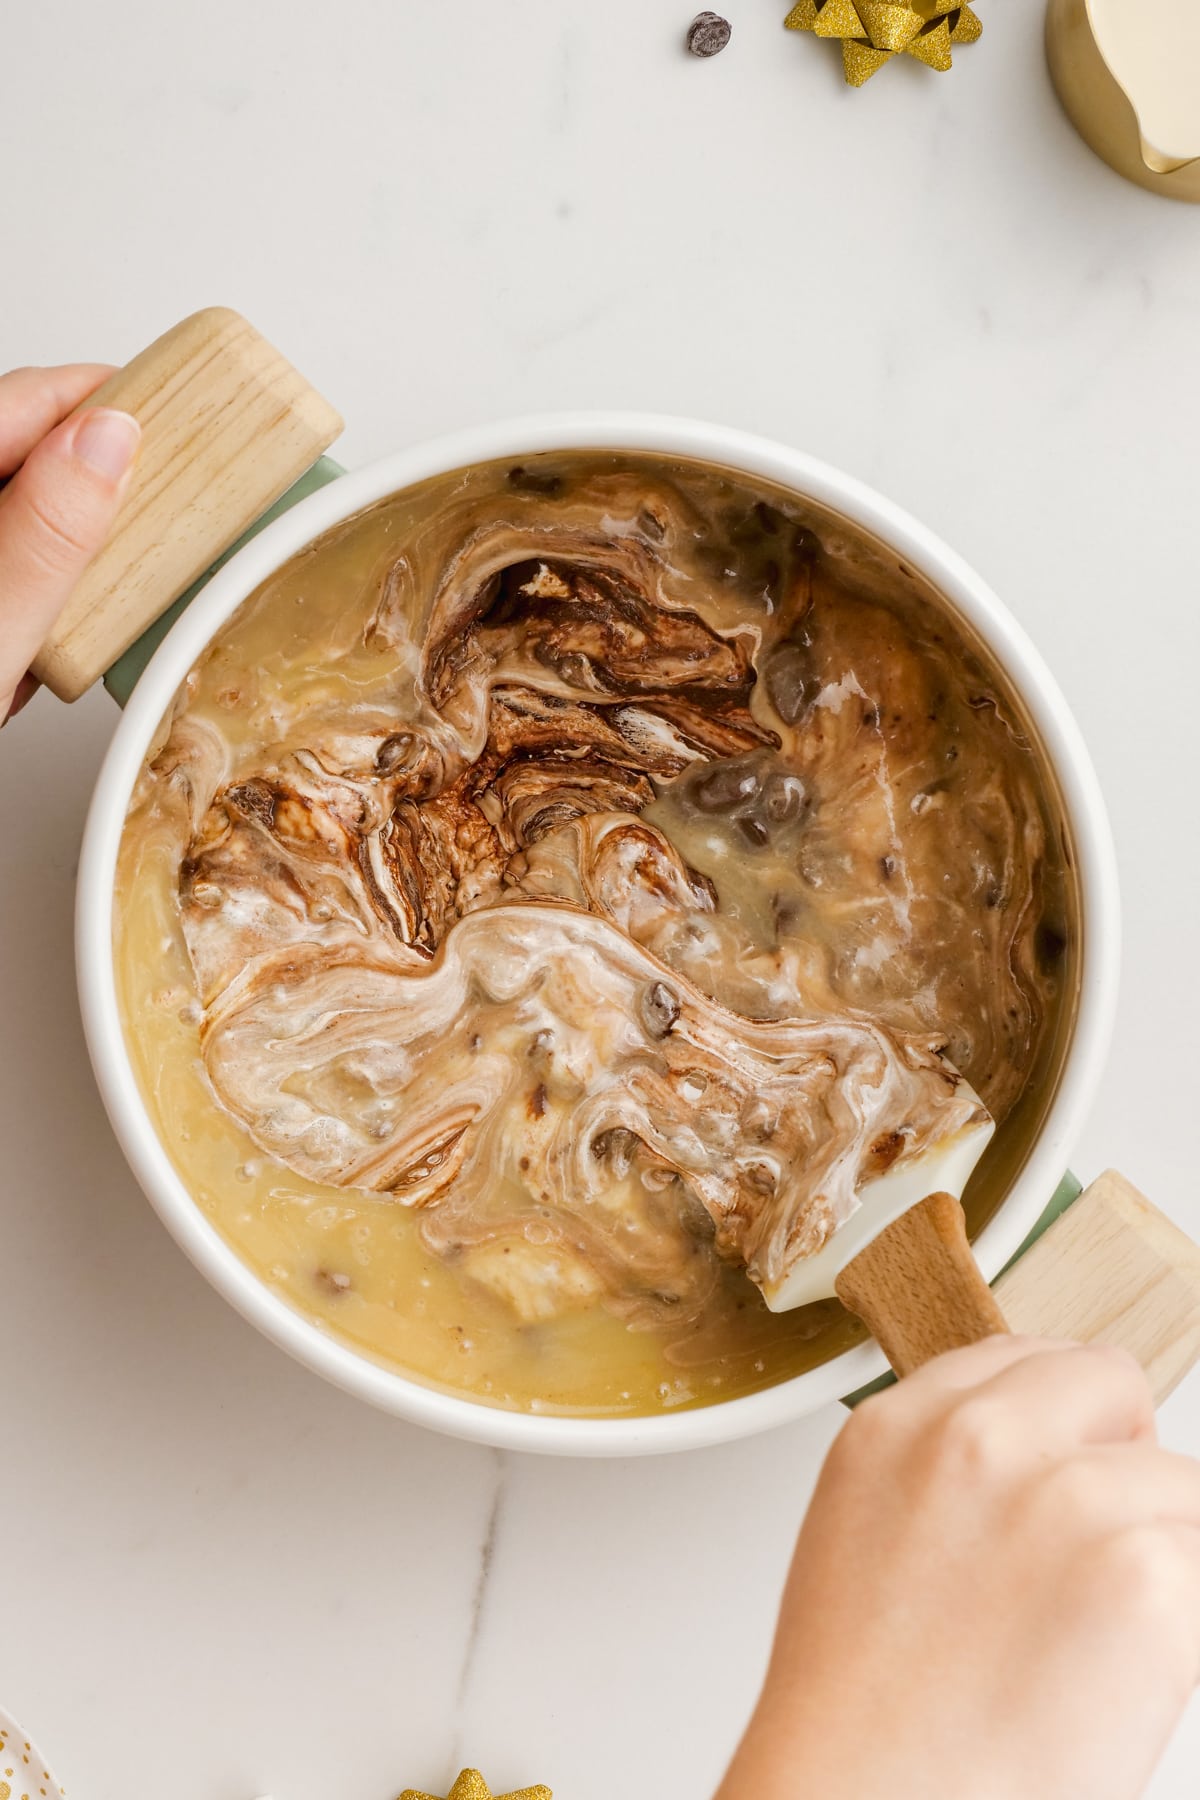
Stir in vanilla extract, semi-sweet chocolate chips and marshmallow creme (marshmallow fluff) until well combined and melted. At this point you could also add in nuts if desired (like walnuts or pecans).
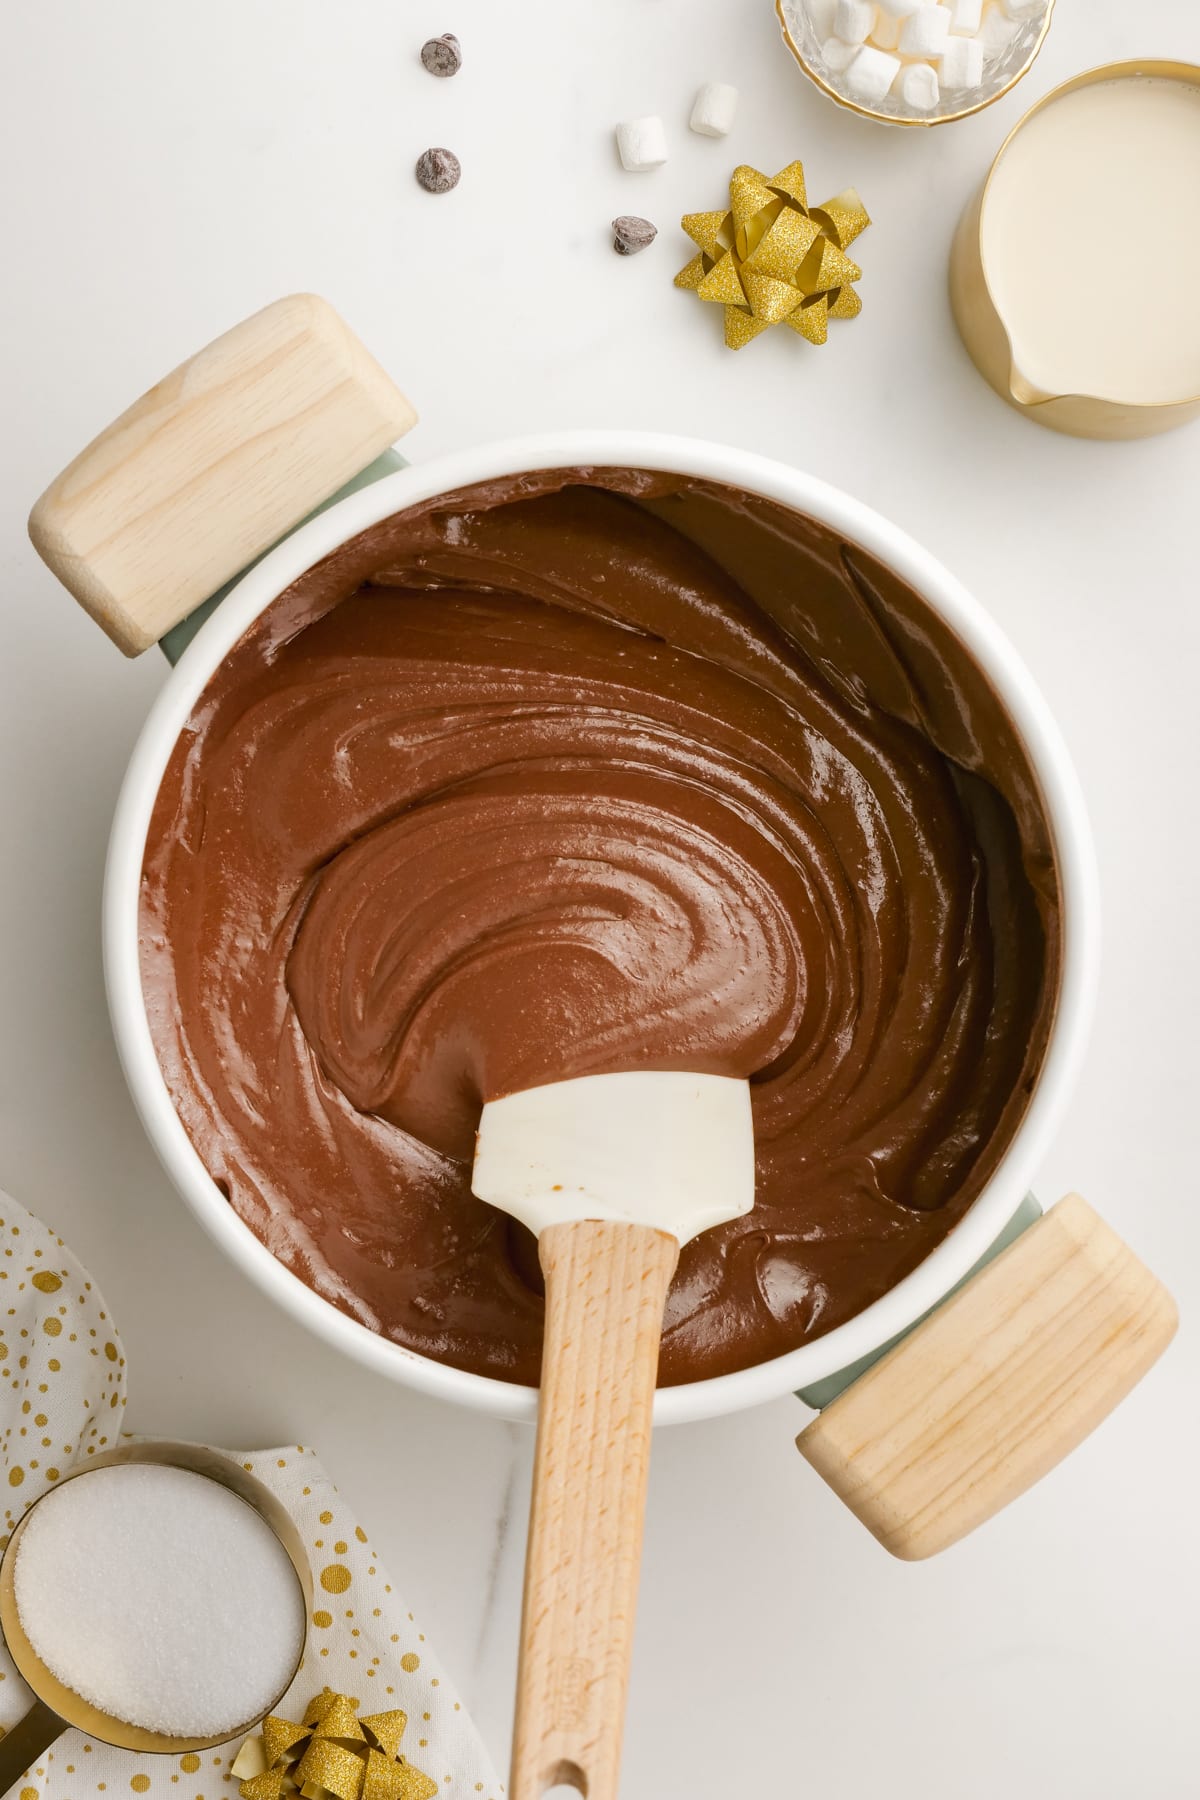
Step 4: Spread + Cool
Pour into prepared pan, using an offset spatula to spread out evenly. Let fudge set and cool completely at room temperature, about 3 hours. Lift fudge from pan and cut into squares.
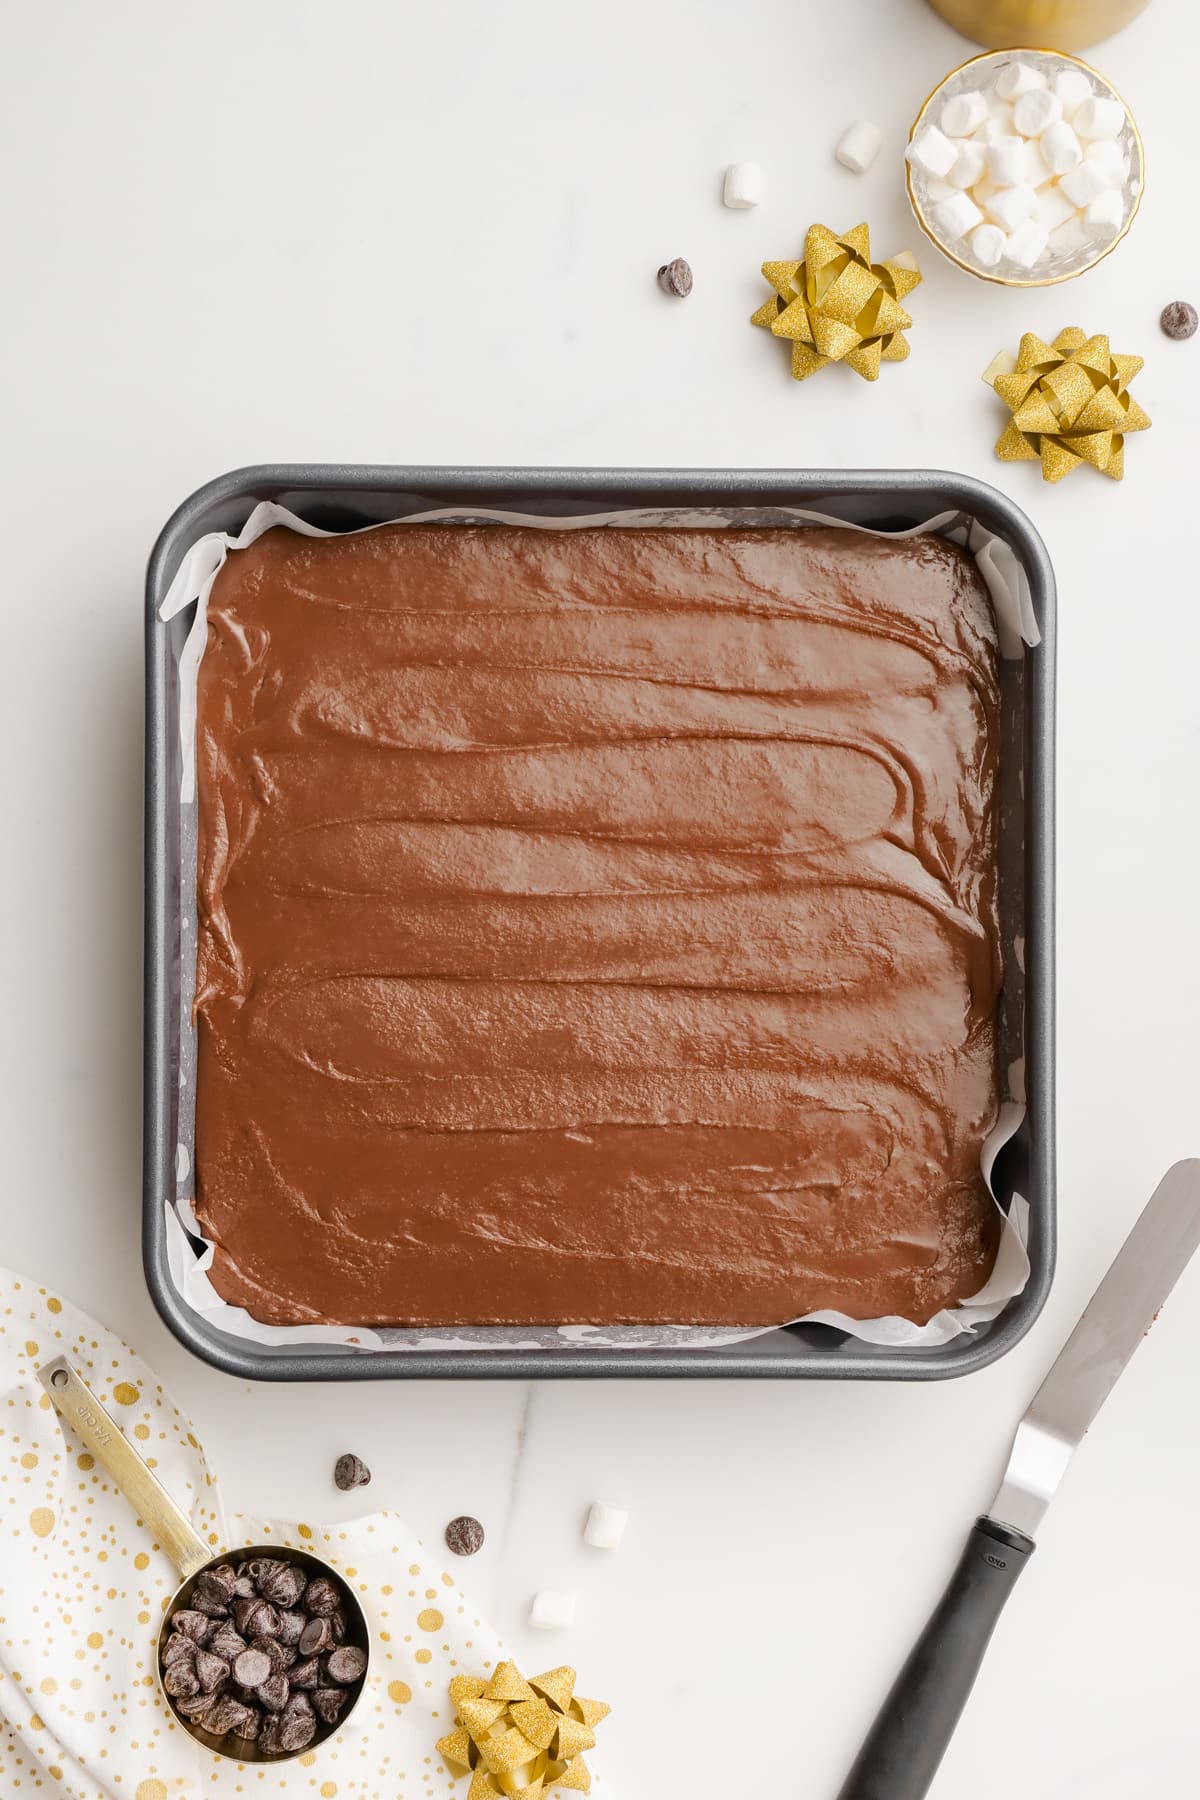
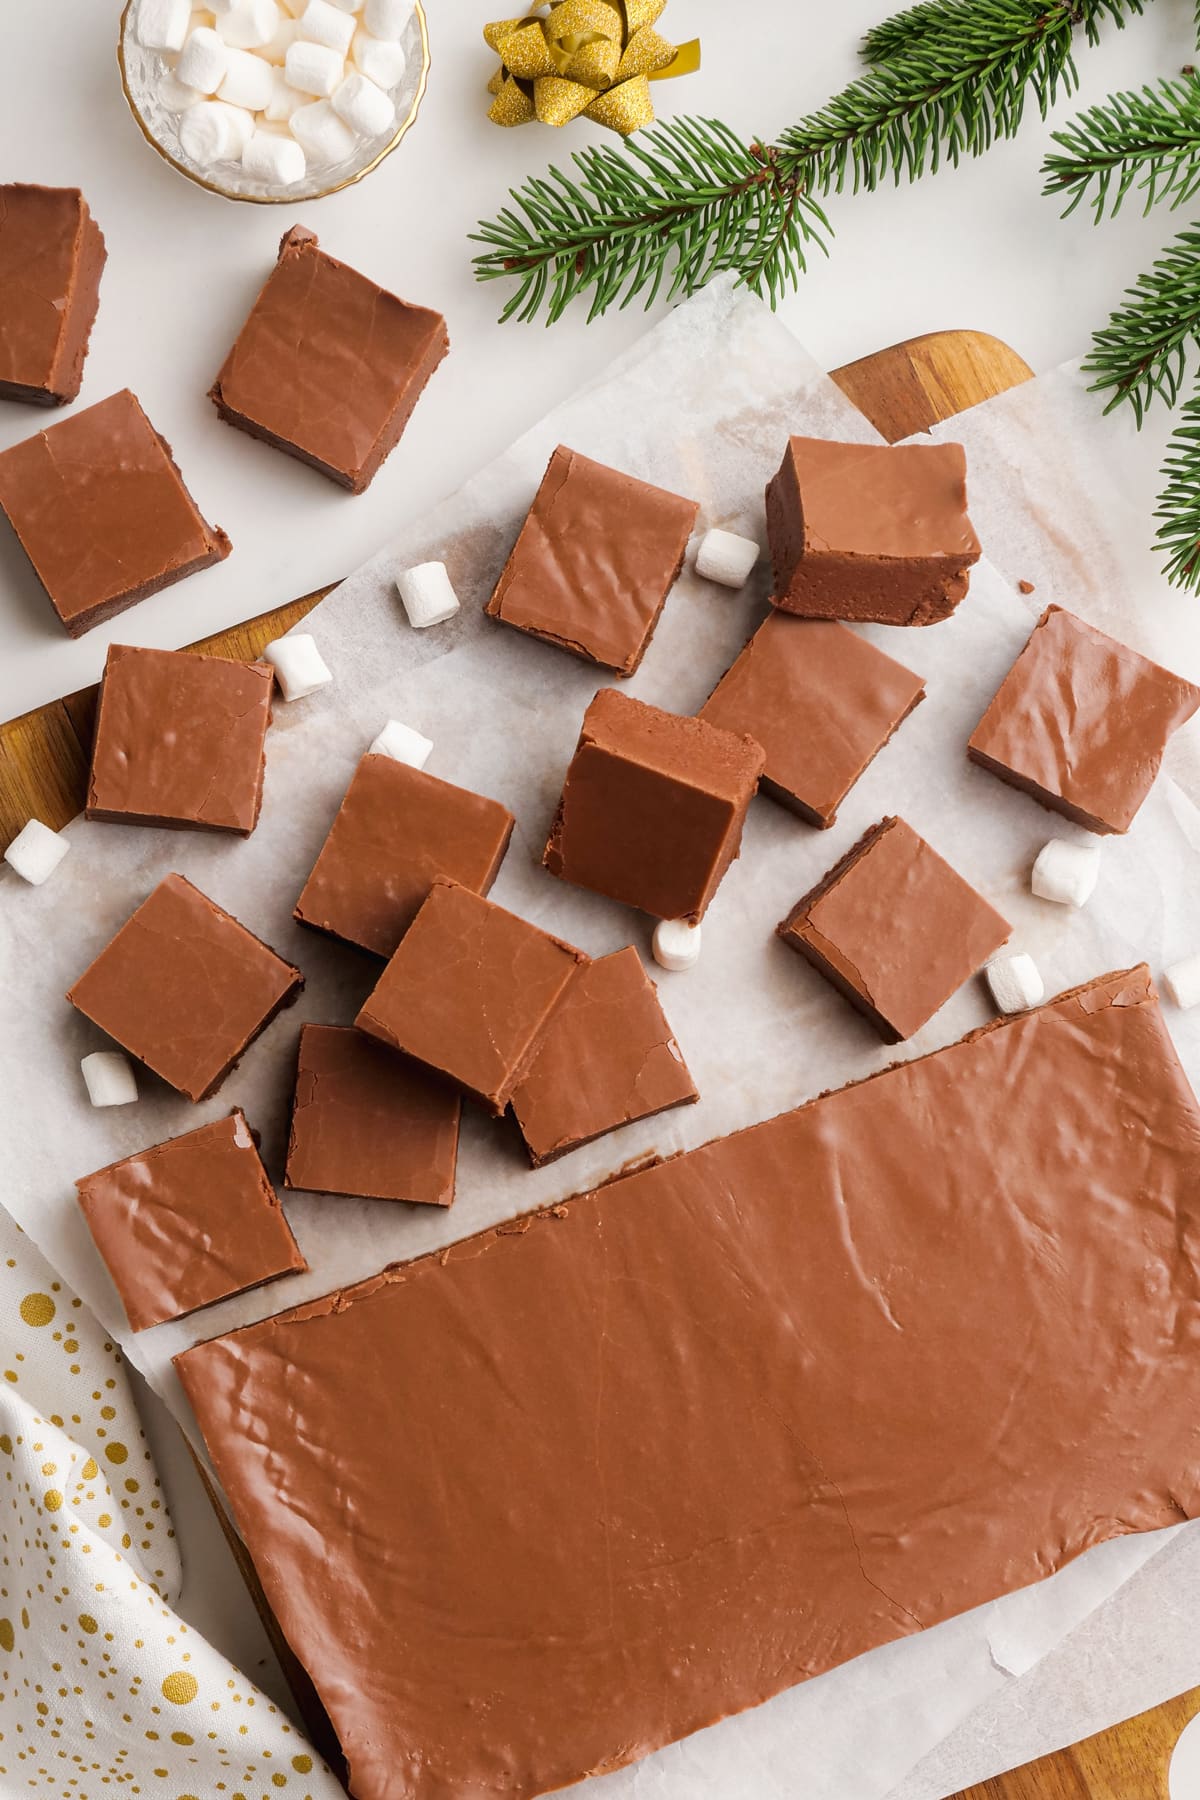
Tips for Success
- Prep Ingredients First – Once it’s at temperature, you need to work quickly.
- Keep the heat controlled: Use medium to medium-high heat rather than cranking the burner up, and stir constantly while the sugar mixture boils. A heavy-bottomed saucepan also helps distribute the heat evenly and prevents hot spots.
- Keep the thermometer positioned correctly: Make sure the tip is fully in the mixture without touching the bottom of the pan for an accurate temperature reading.
- Don’t scrape the bottom of the pan: If you notice any cooked sugar stuck to the bottom or sides, leave it behind when transferring the fudge mixture to the pan so it doesn’t affect the texture.
- Work quickly after removing from heat: The chocolate and marshmallow creme start setting as the mixture cools, so stir everything together and get it into the prepared pan while it’s still easy to spread.
- Cool at Room Temp – This keeps the texture creamy instead of crumbly.
What to Serve With Fudge
Fudge is perfect on its own, but it also fits right in with a Christmas cookie tray or dessert spread. Here are a few recipes that pair well with its rich chocolate flavor:
- Crockpot Hot Chocolate – A warm, creamy drink that pairs especially well with a few squares of chocolate fudge.
- Frosted Sugar Cookies – Soft sugar cookies add a buttery, vanilla-forward contrast to rich chocolate fudge.
- Vanilla Bean Cut-Out Sugar Cookie Recipe – These soft, chewy cookies make a great addition to a Christmas dessert tray alongside fudge.
- Gingerbread Cookies – Warm ginger and spices balance the rich chocolate flavor and make a classic holiday pairing.
- Sugar Cookie Blossoms – Soft sugar cookies topped with chocolate kisses fit right in with a holiday fudge platter.
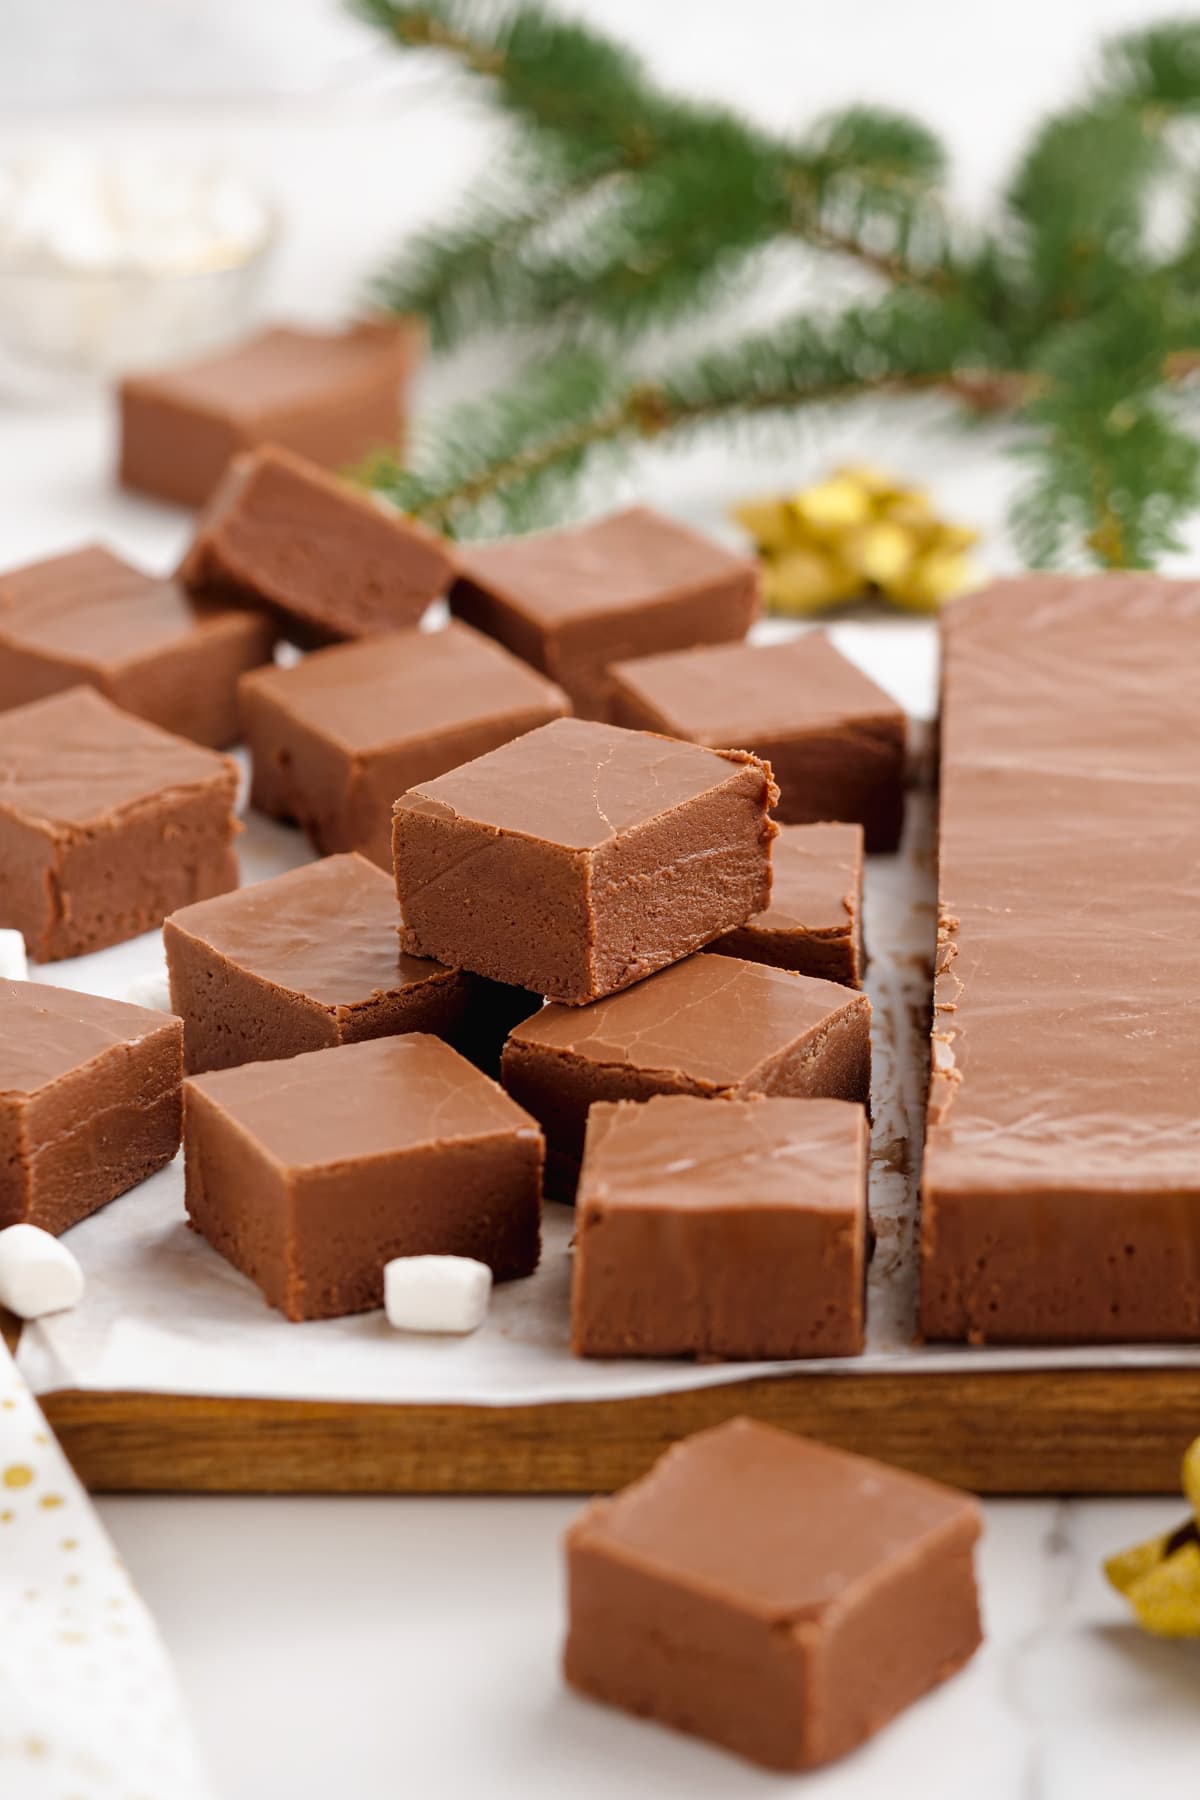
This Fantasy Fudge recipe is nostalgic, easy, and always a hit. Make a batch for the holidays or just because you can. The printable recipe card is below. Have a great day, friends!
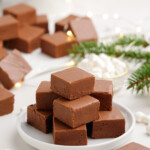
The Original Fantasy Fudge Recipe
Equipment
-
candy thermometer
Ingredients
- 3 cups granulated sugar
- ⅔ cups butter (about 1 ⅓ sticks)
- ⅔ cups evaporated milk (5 oz can)
- 1 tsp vanilla extract
- 7 oz marshmallow creme
- 12 oz semi-sweet chocolate chips
Instructions
-
Spray a 9-inch square pan with baking spray and line it with parchment paper, leaving some overhang on the sides for easy lifting.
-
In a large saucepan over medium to medium-high heat, bring the butter, sugar, and evaporated milk to a full rolling boil, stirring constantly.
Keep stirring and boil for 5–10 minutes, until a candy thermometer reaches 234°F. Remove from heat right away.
-
Stir in the vanilla, chocolate chips, and marshmallow creme until smooth and melted. Stir in walnuts or pecans here if using.
-
Pour the fudge into the prepared pan and spread evenly with an offset spatula. Let it cool completely at room temperature until set.
Video
Notes
Storage Instructions
Store fudge in an airtight container at room temperature for up to 1 week. Don’t store it in the fridge-it will get crumbly) For longer storage, refrigerate for up to 3 weeks or freeze for up to 3 months. Thaw in the fridge before serving for best texture.
Nutrition
Tools You’ll Need
A few simple tools make this fudge easier to cook, spread, and slice neatly.
- Candy thermometer – Helps you monitor the fudge mixture and reach the right temperature for the best texture.
- 9-inch square pan – Gives the fudge the right thickness and makes it easy to cut into even pieces.
- Saucepan – Provides enough room to melt and combine the ingredients smoothly.
- Offset spatula – Makes it easy to spread the fudge evenly and smooth the top before it sets.
More Fudge Recipes to Try
- Peanut Butter Fudge
- Peppermint Fudge
- Microwave Fudge
- Reese’s Peanut Butter Cup Fudge
- Gingerbread Marshmallow Fudge
How to Store Fudge
Store fudge in an airtight container in a cool, dry place for up to 2 weeks, placing parchment paper between the layers to keep the pieces from sticking together. Keep it away from heat and moisture to help maintain its smooth texture.
You can also freeze it for up to 3 months in an airtight container, separating the pieces with parchment paper, then thaw at room temperature before serving.
I hope you give this classic recipe a try this holiday season. If you do, I would really appreciate it if you would give it a star review! If you have a picture of your finished dish, post it on Instagram using the hashtag #laurenslatest and tagging me @laurens_latest.